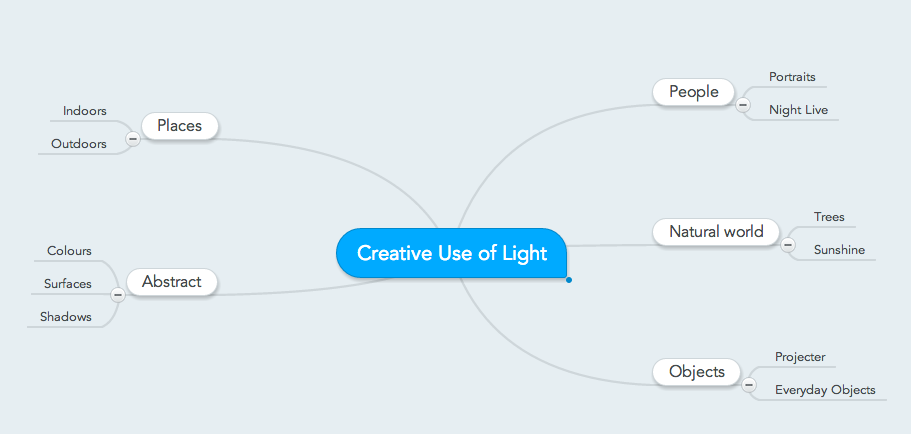
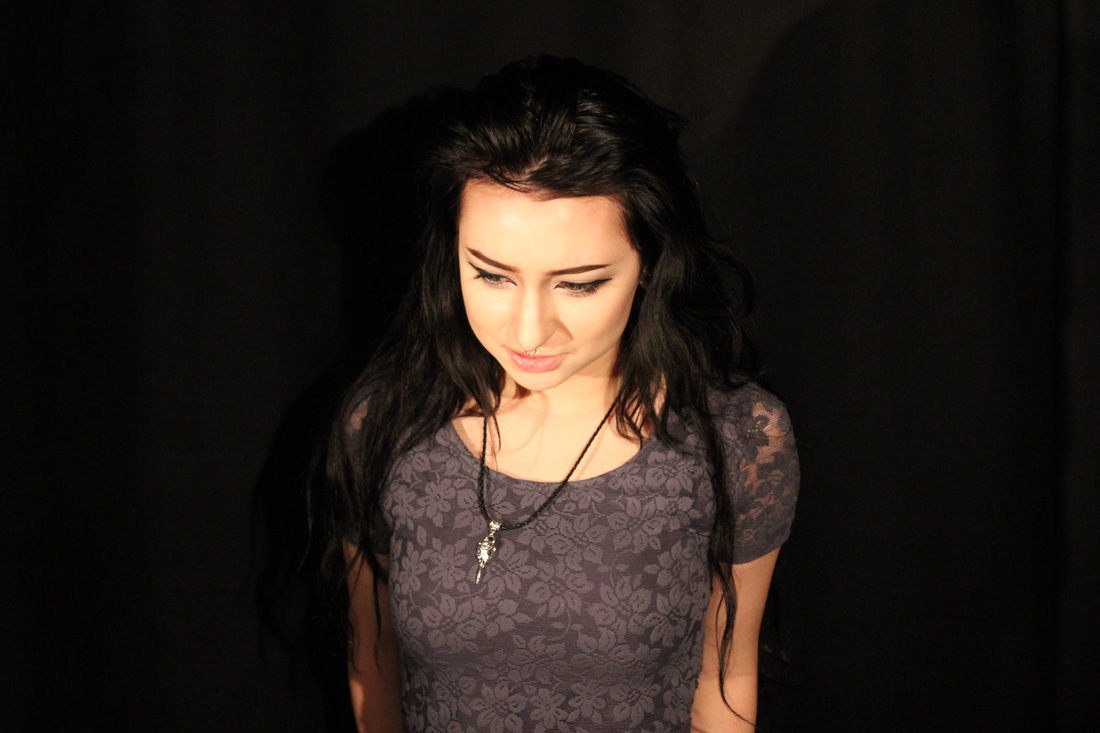
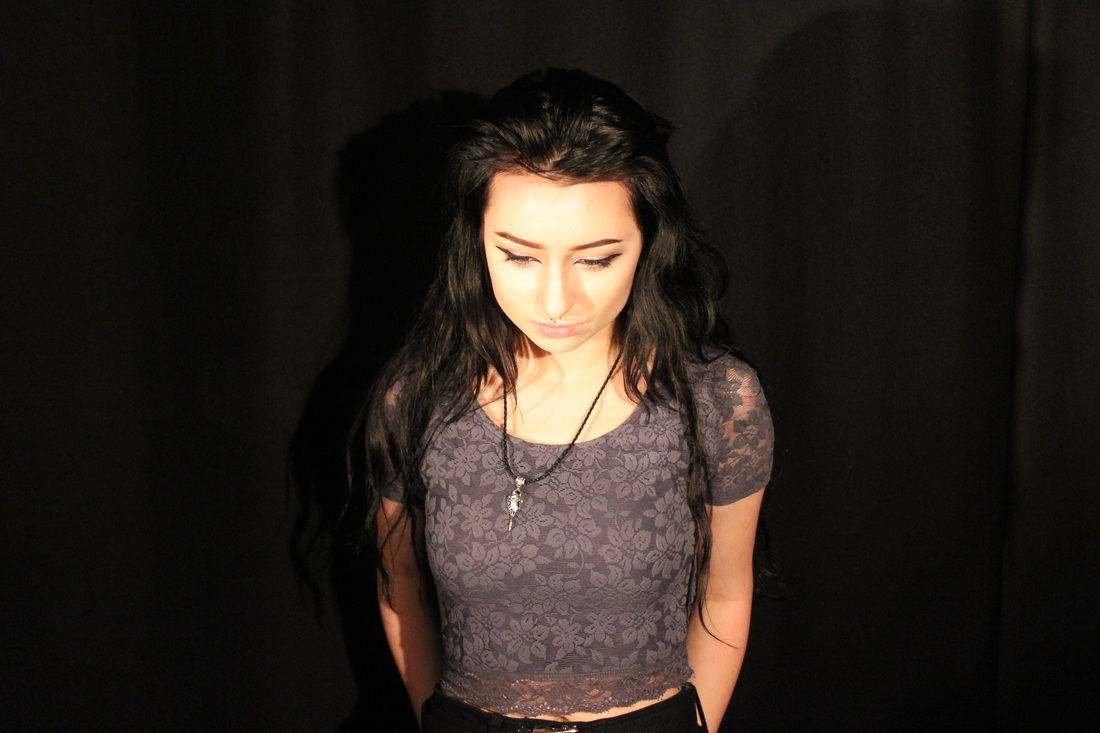
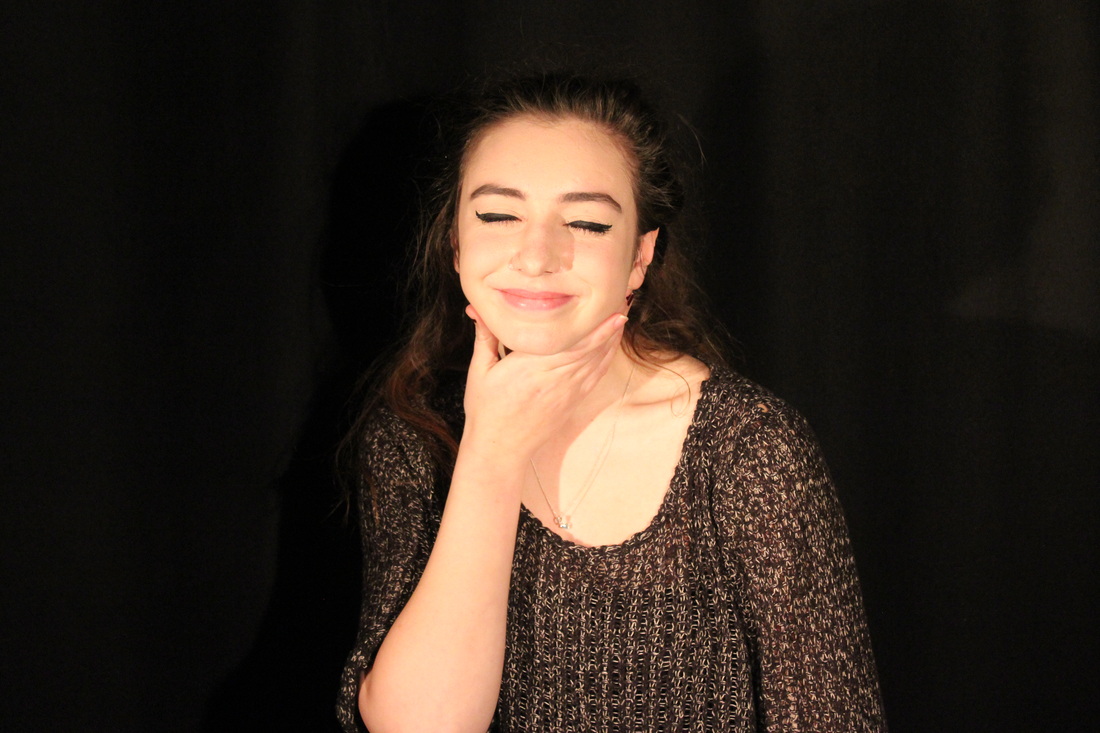
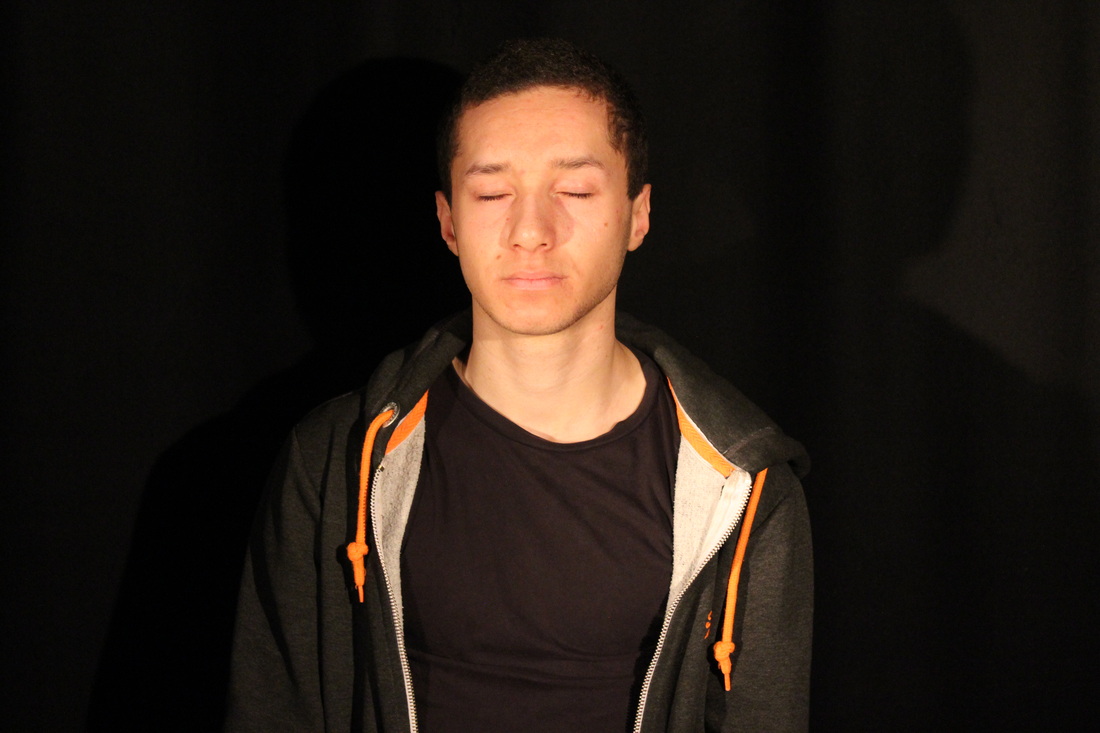
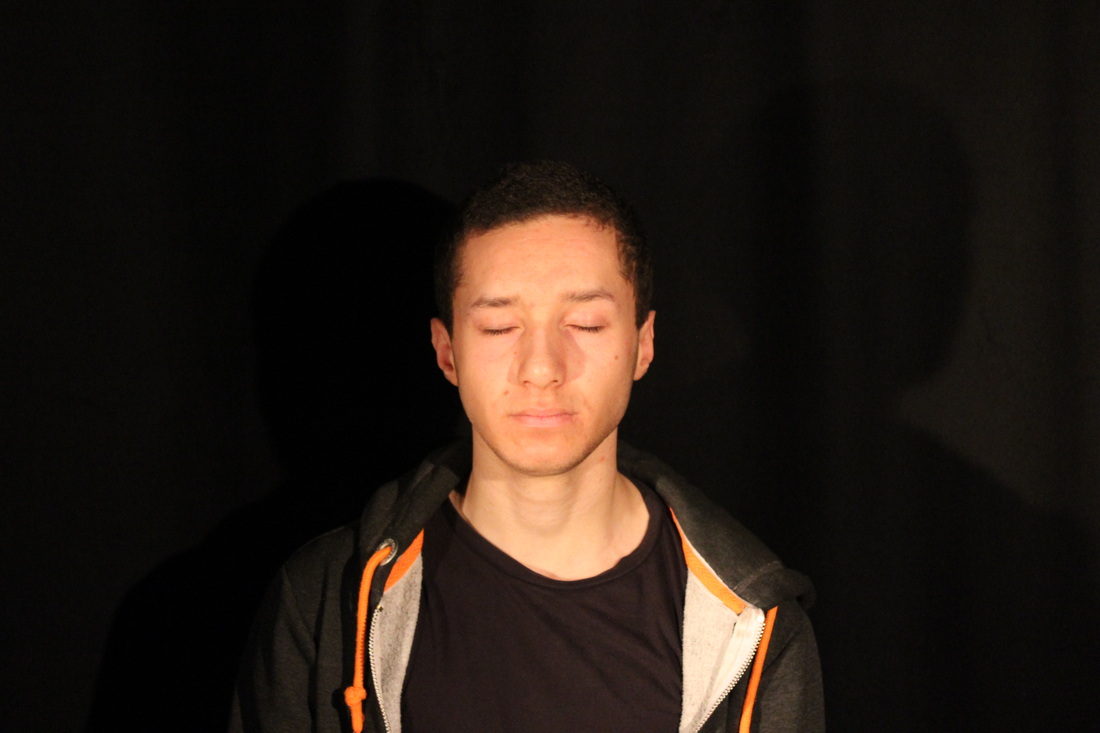
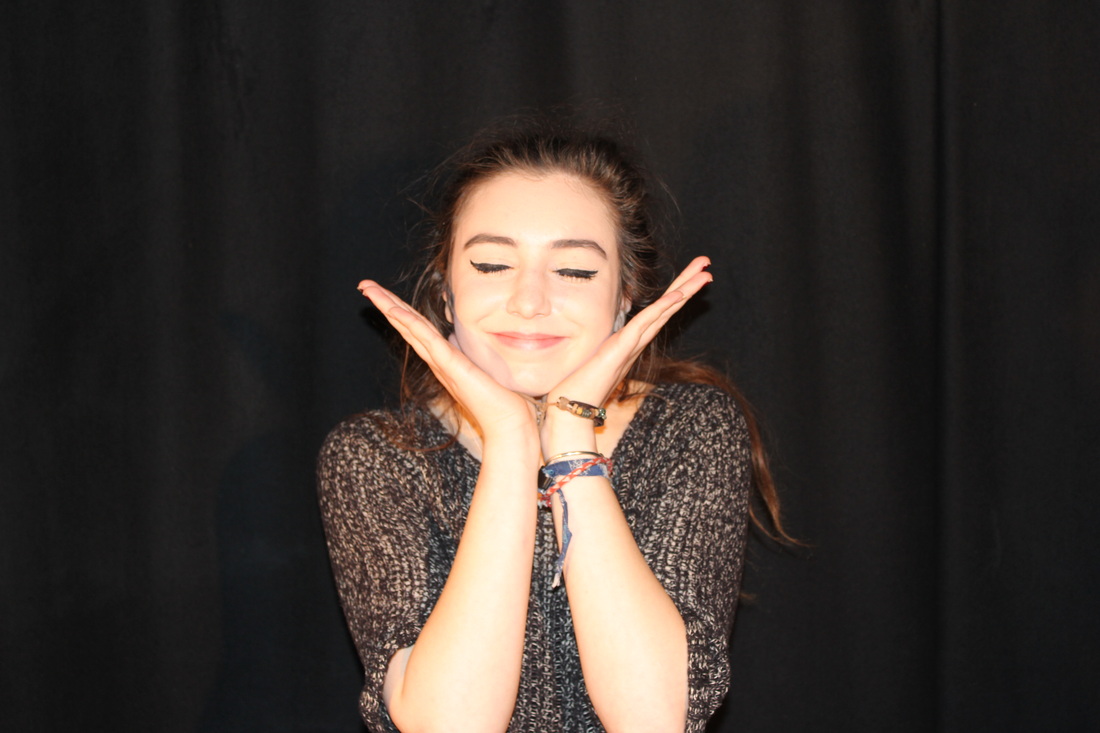
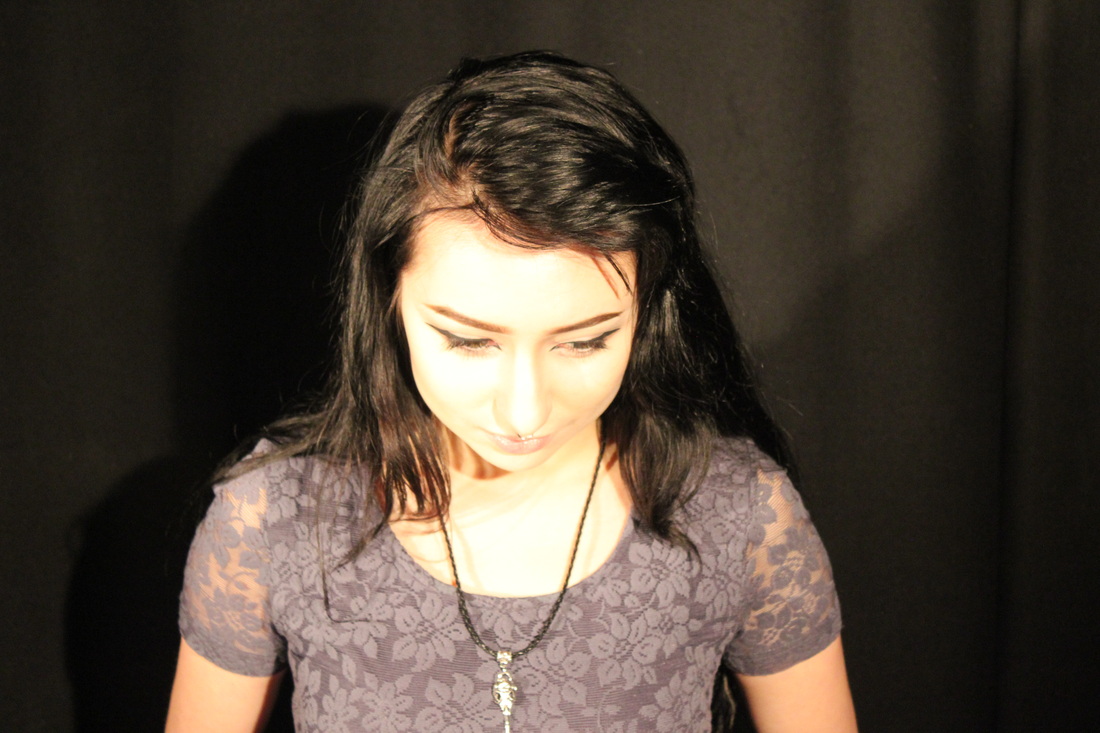
Creative use of light
|
|

Double Exposure
Editing in Photoshop
|
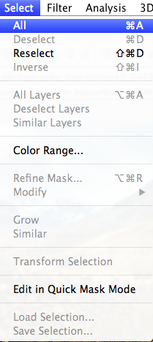
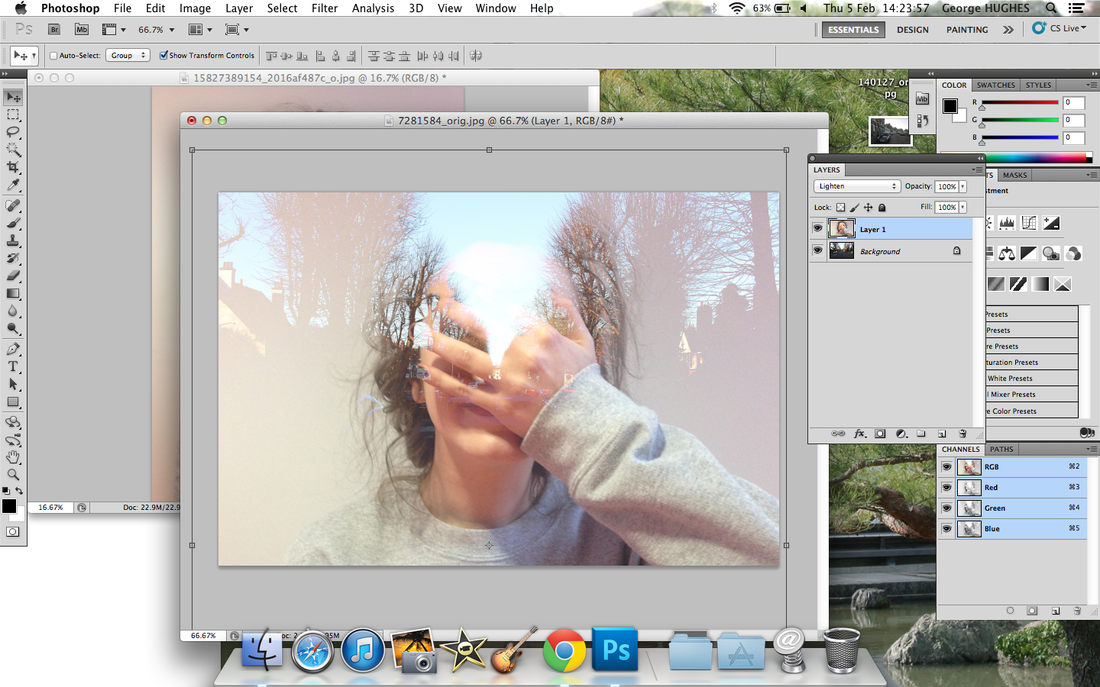
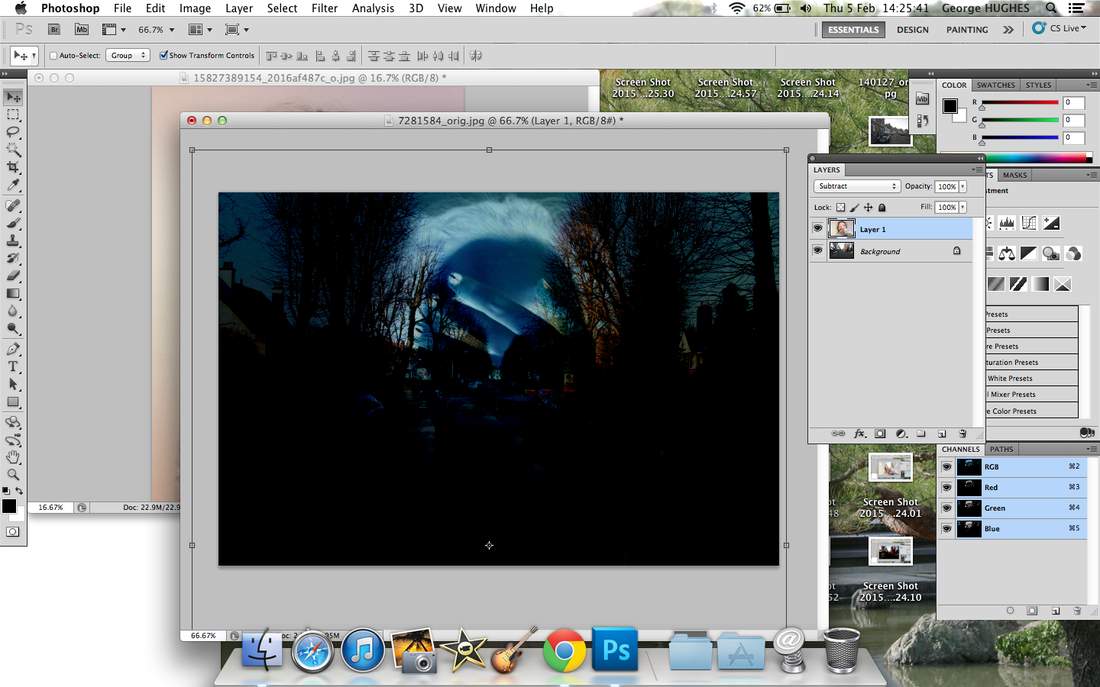
When I first open photoshop I go to 'File' and 'Place' my landscape background image onto a new canvas which I created. I then do the same in a different tab in photoshop, I go to 'File' and 'Place' my portrait foreground image on the second canvas which I made. Once I have done that, I then went to 'select' tab and than click on 'all'. I could of also done this by pressing CMD and A on the keyboard. I then used the command CMD and C and CMD V to past the portrait on my background image.
|
|
|
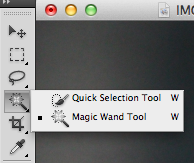
When my foreground and background are both layered onto each other, I then use the 'Magic Wand Tool' to select around the portrait so then I can crop that onto my background image that I have taken. I can use the 'Magic Wand Tool' by pressing CMD and W in Photoshop. Sometimes when using the 'Magic Wand Tool' it doesn't crop the area I want, so I have to use the 'Quick Selection Tool' to highlight the areas which the 'Magic Wand Tool' couldn't capture.
|
|
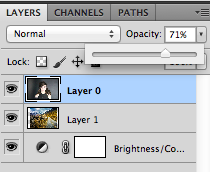
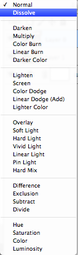
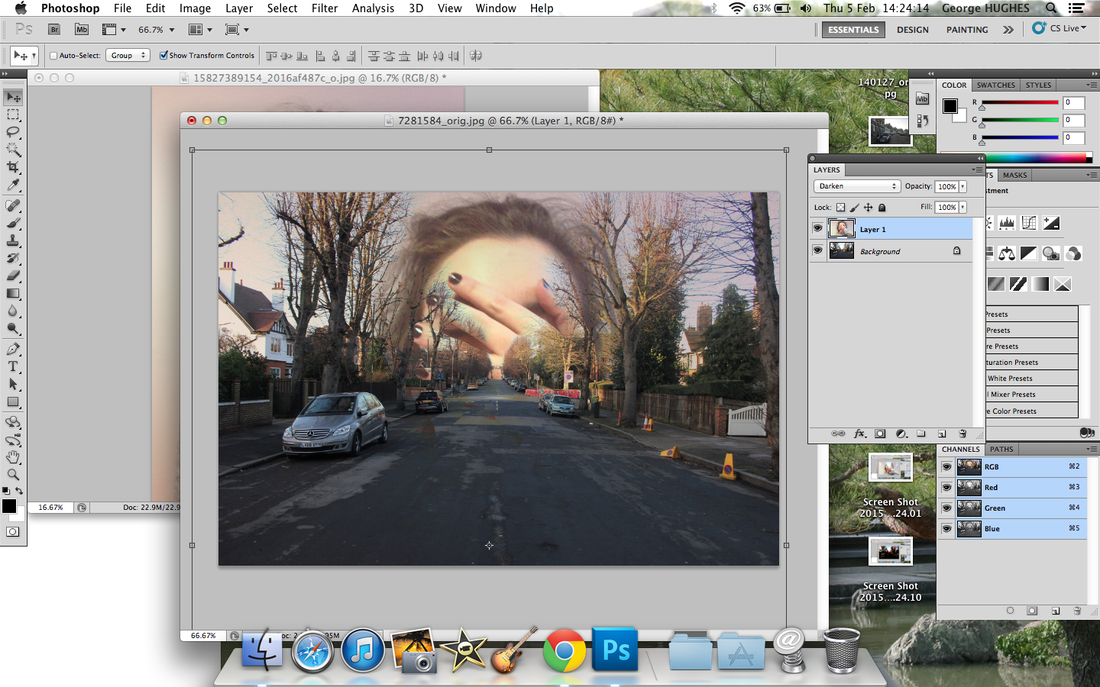
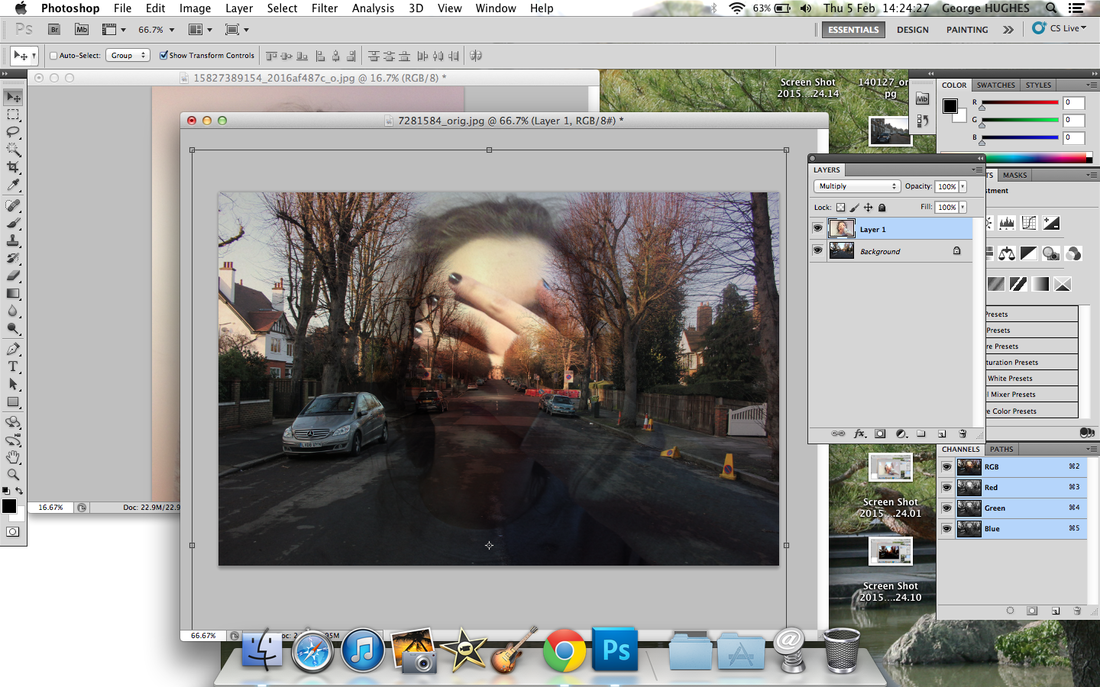
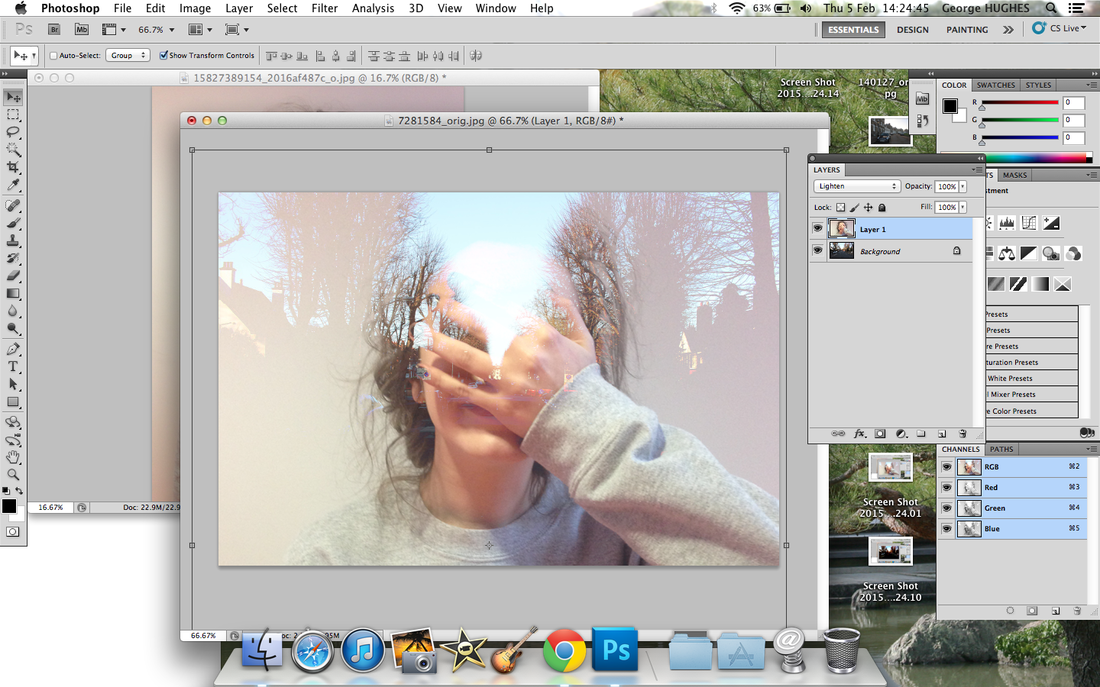
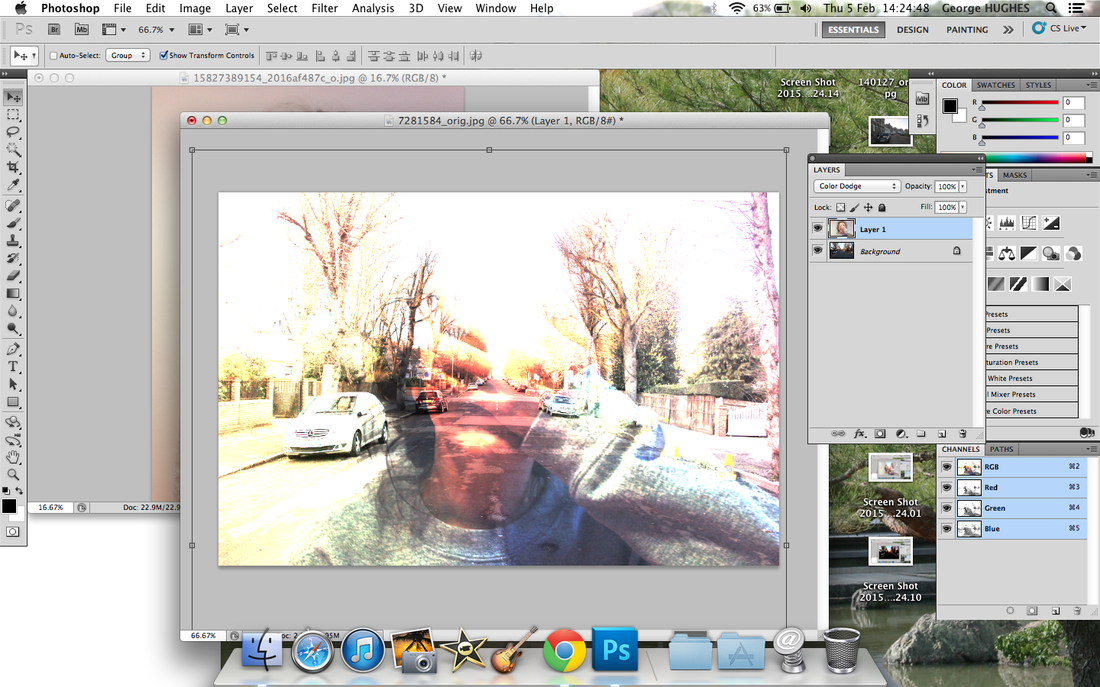
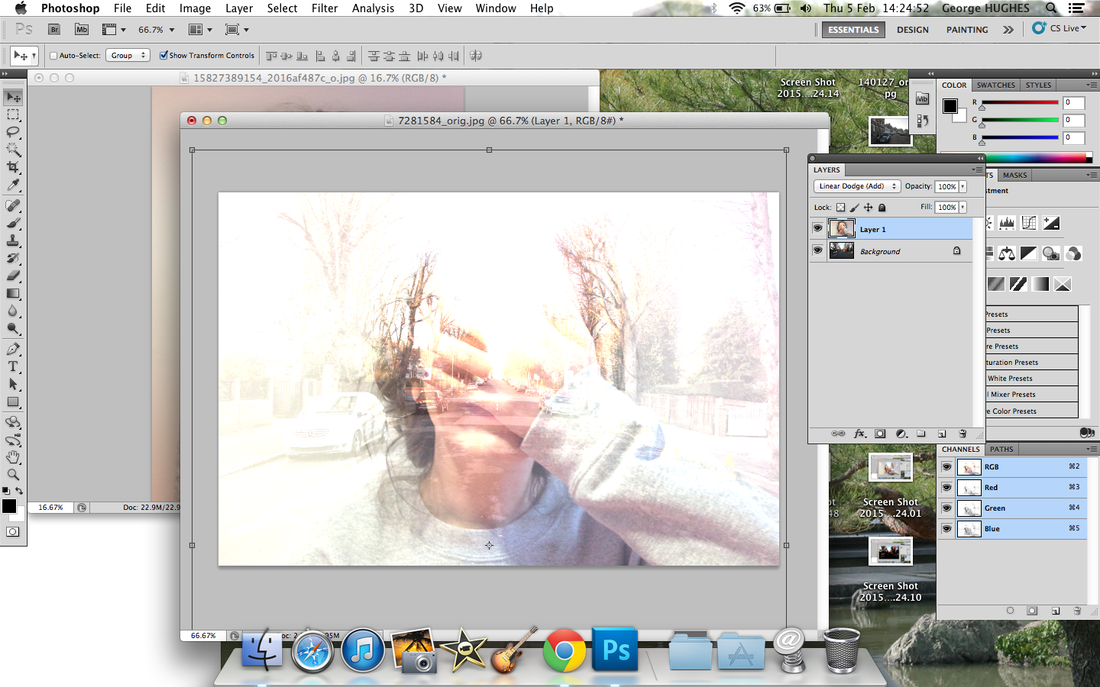
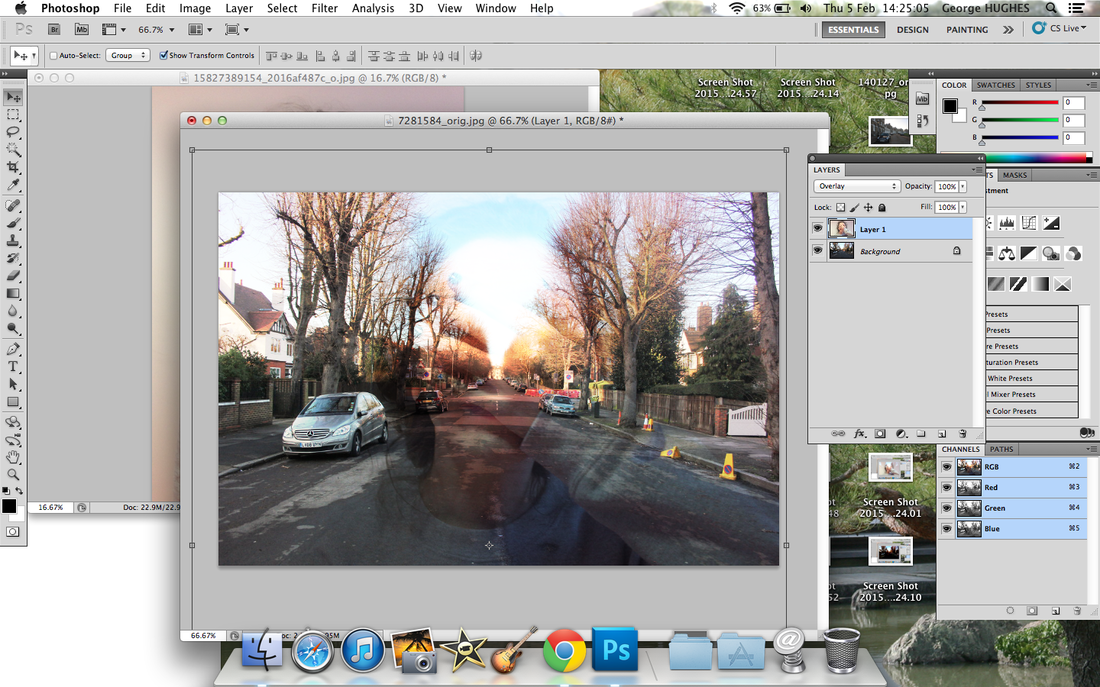
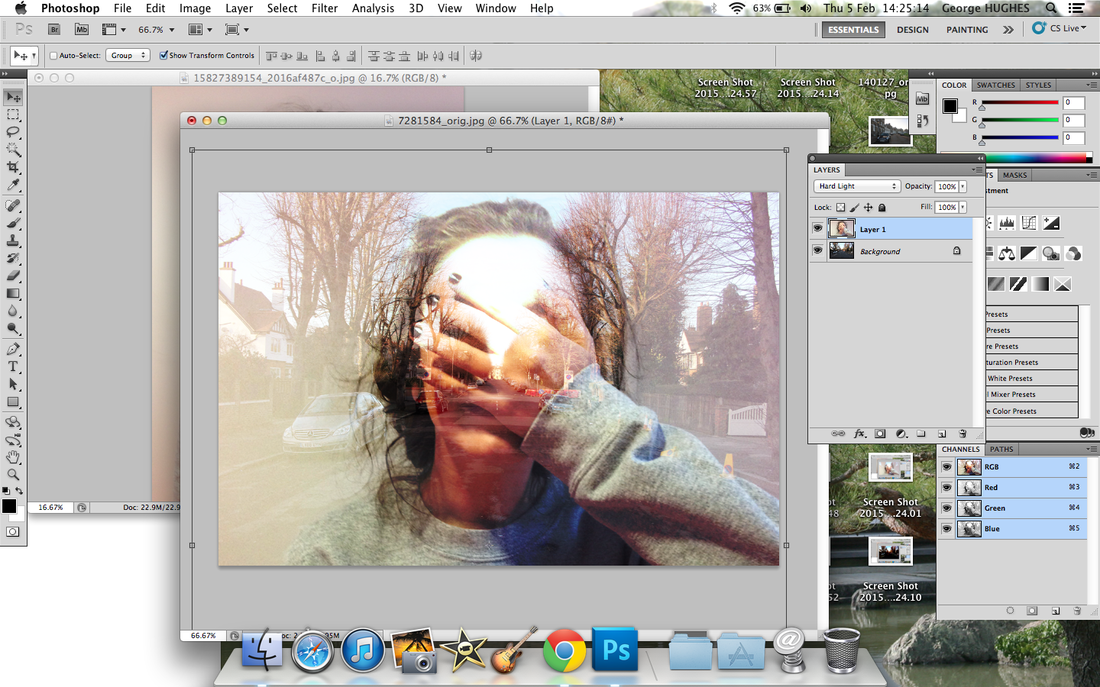
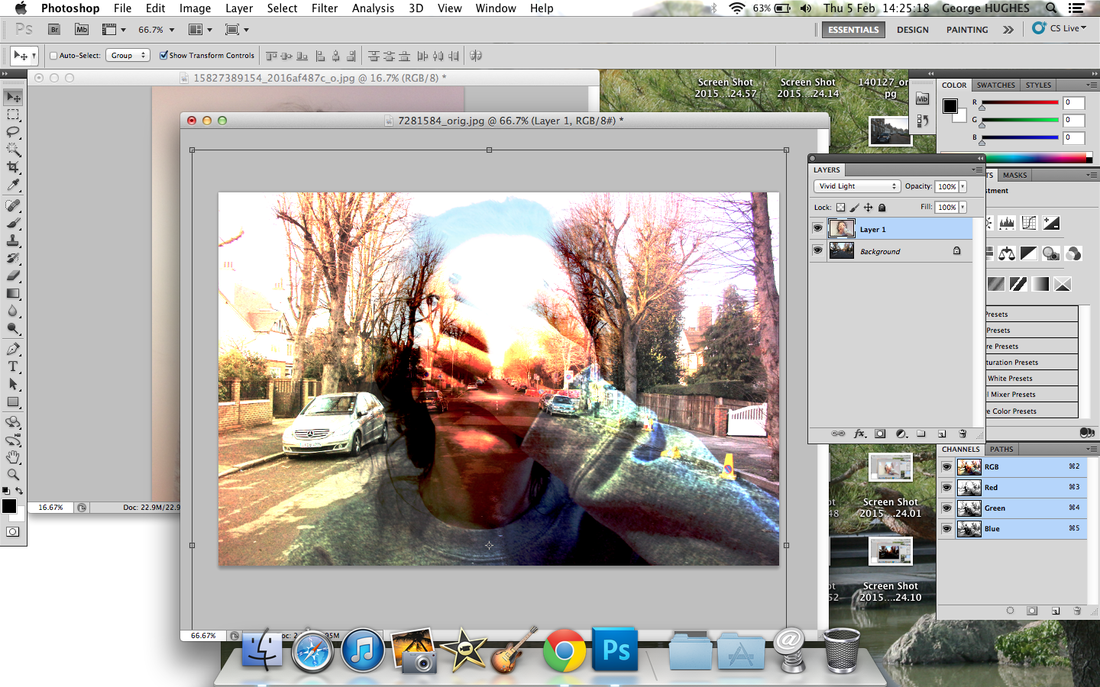
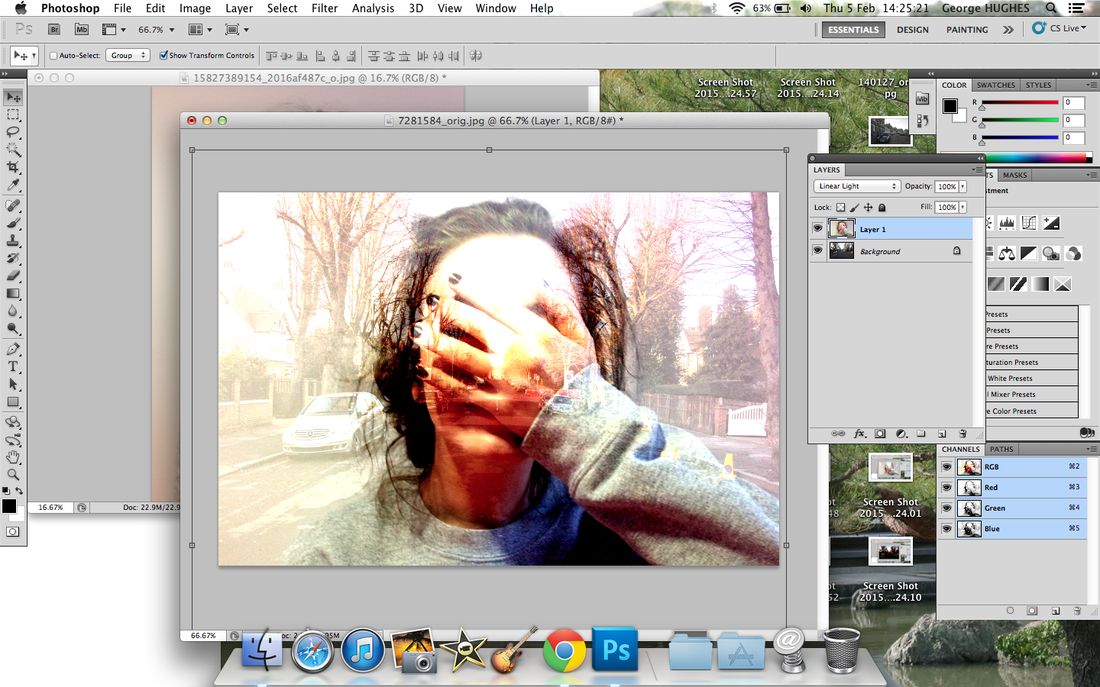
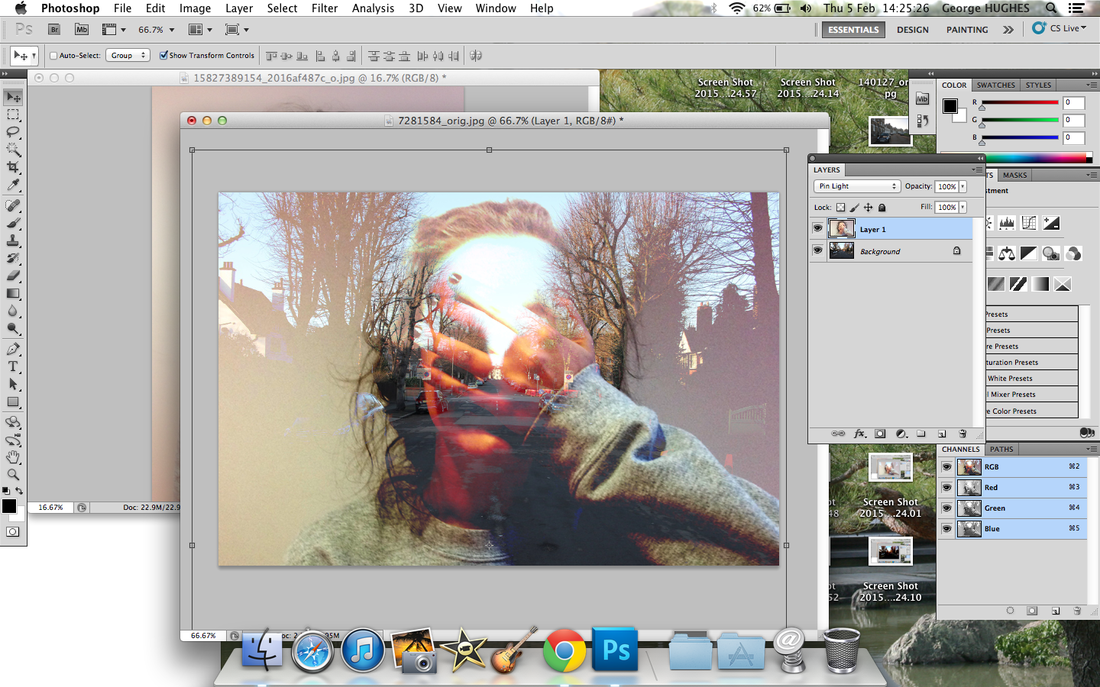
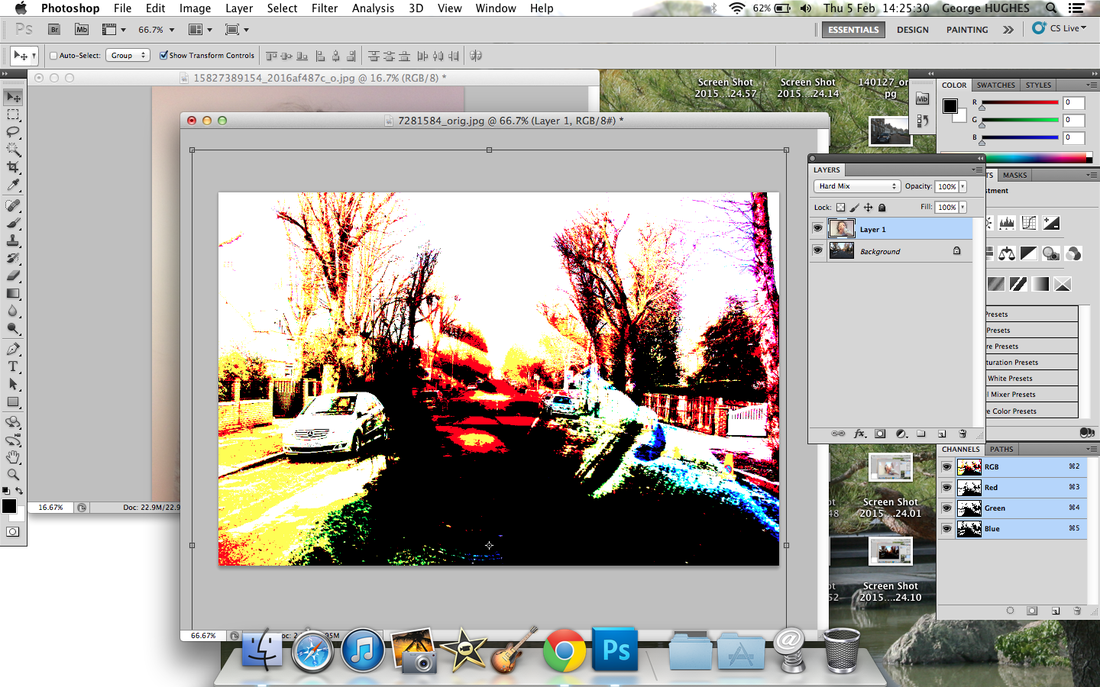
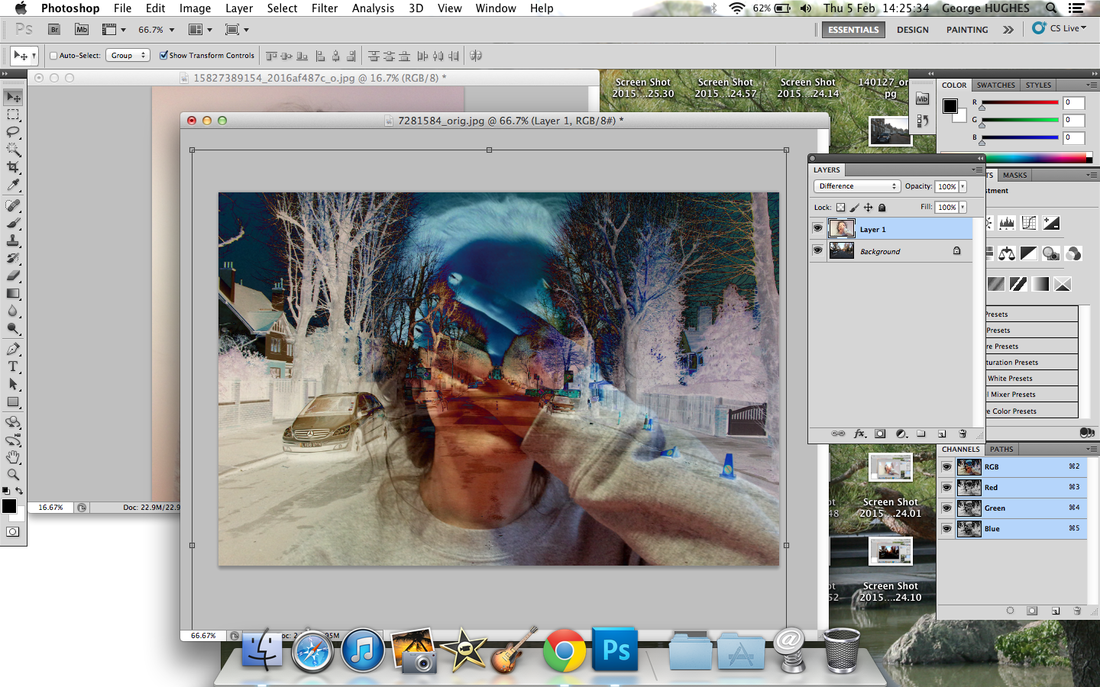
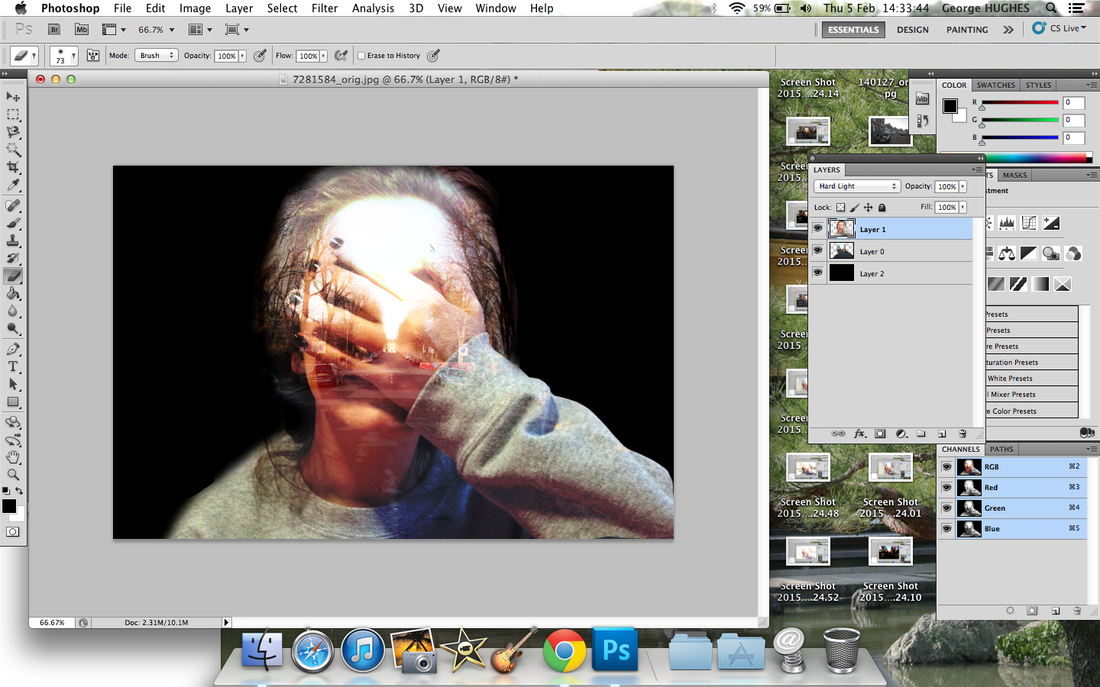
Once I have my background image sorted and my foreground portrait image sorted, I then play around with the different blending options and you can see on the right and also the opacity until I find the blending option I want and the right Opacity that looks the best.
|
|
|
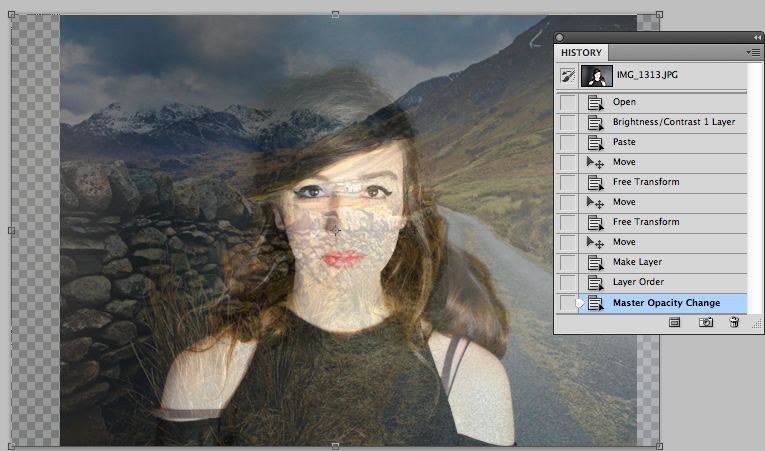
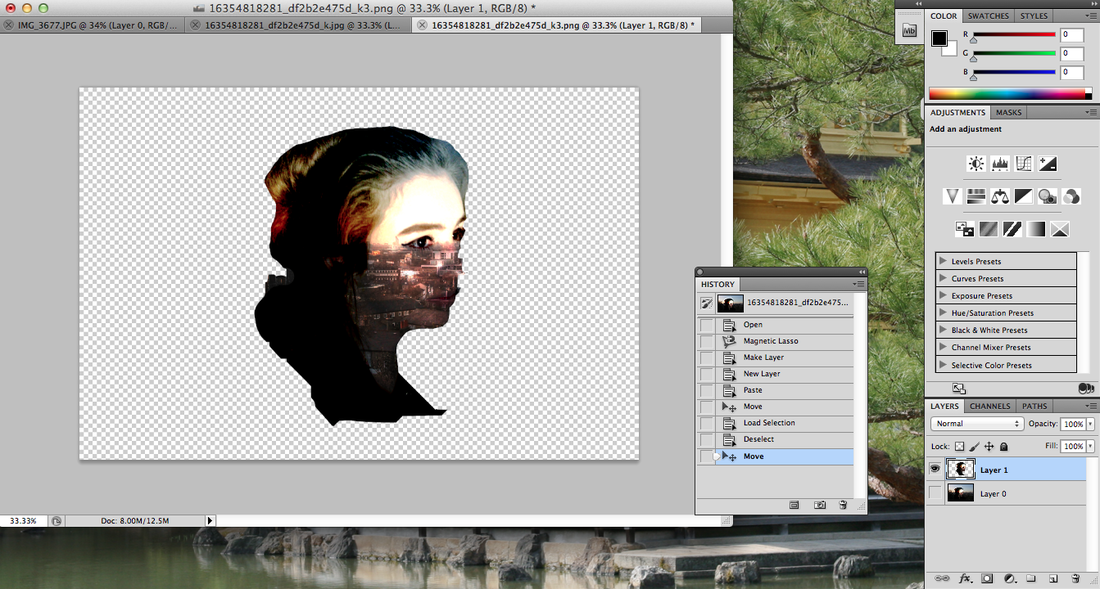
Here is an example of the outcome of the steps that I went through on Photoshop. As you can see on the right of the picture it has all of the history of the steps I went through to create this image.
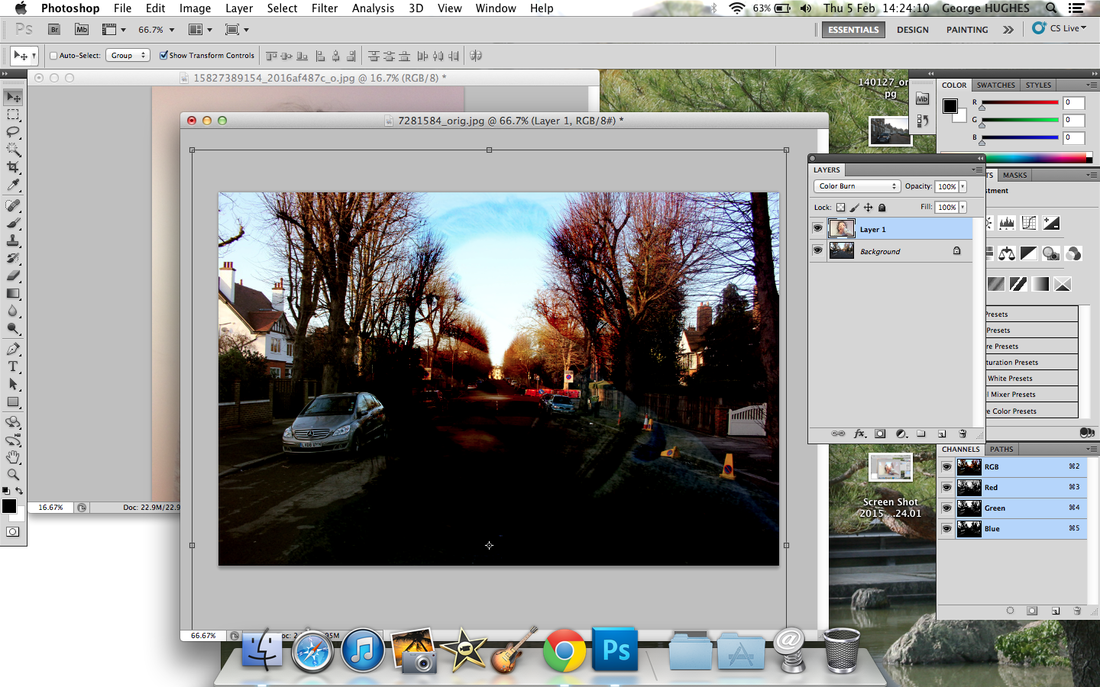
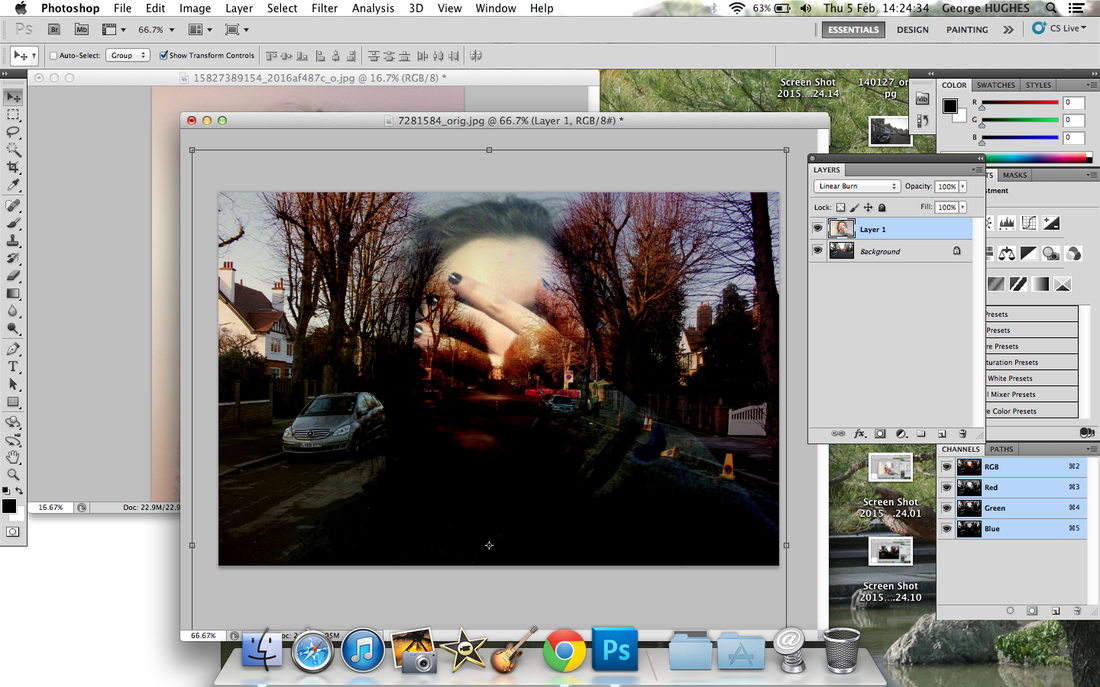


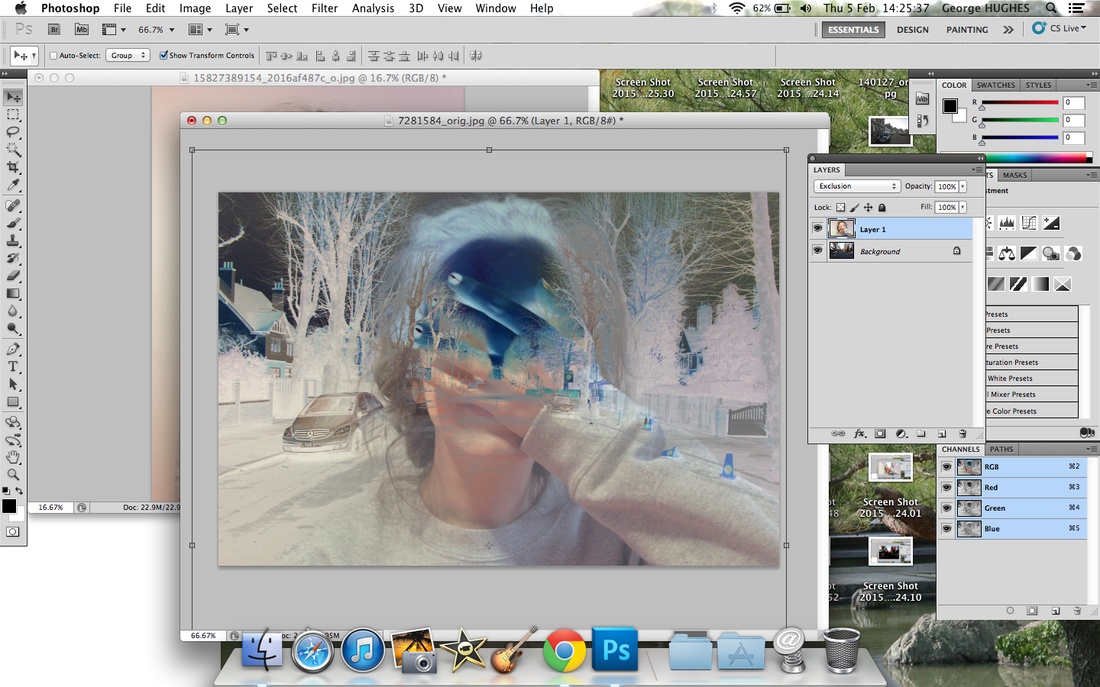

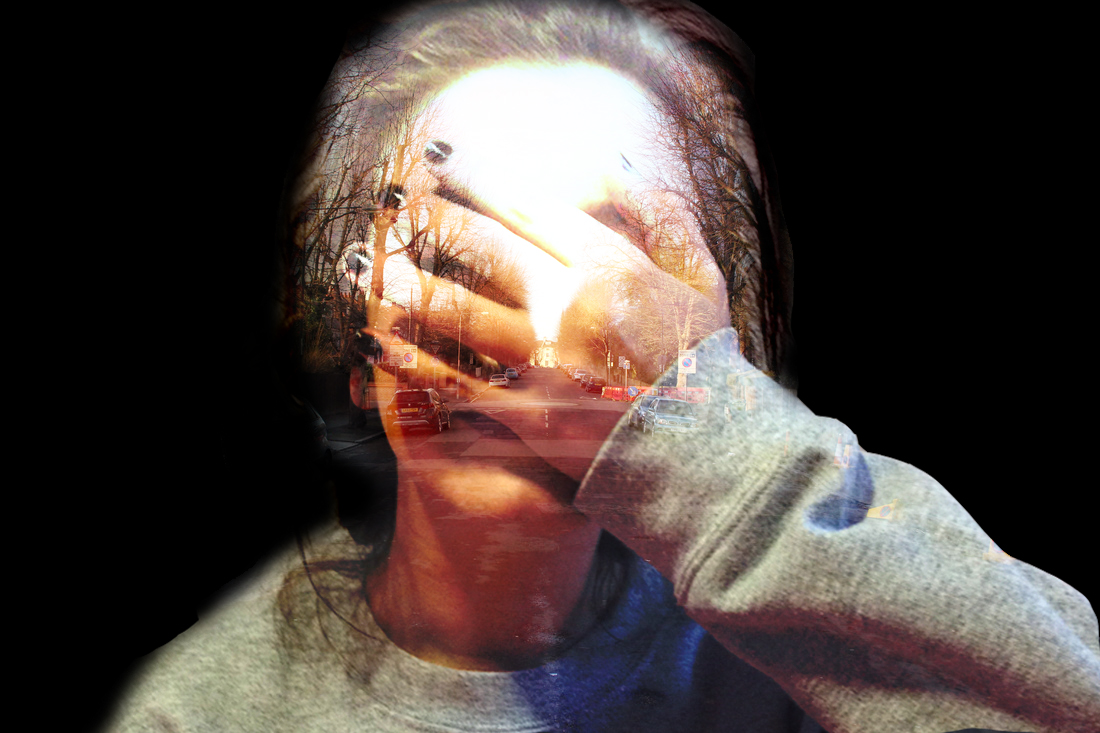
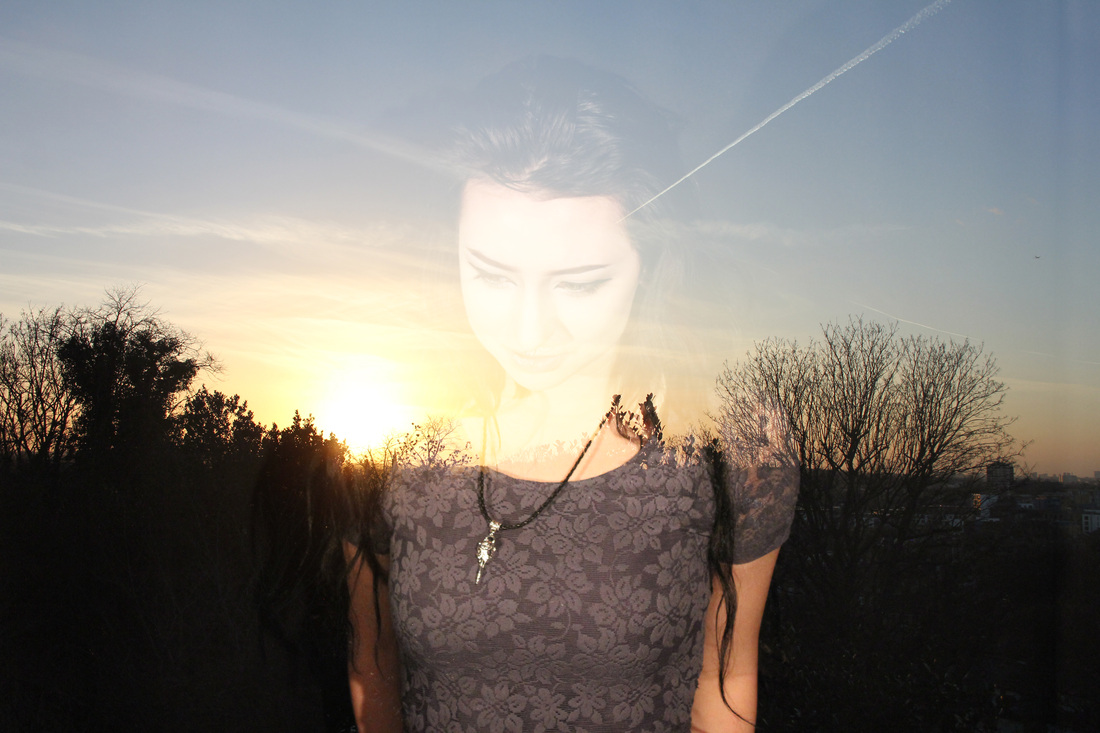
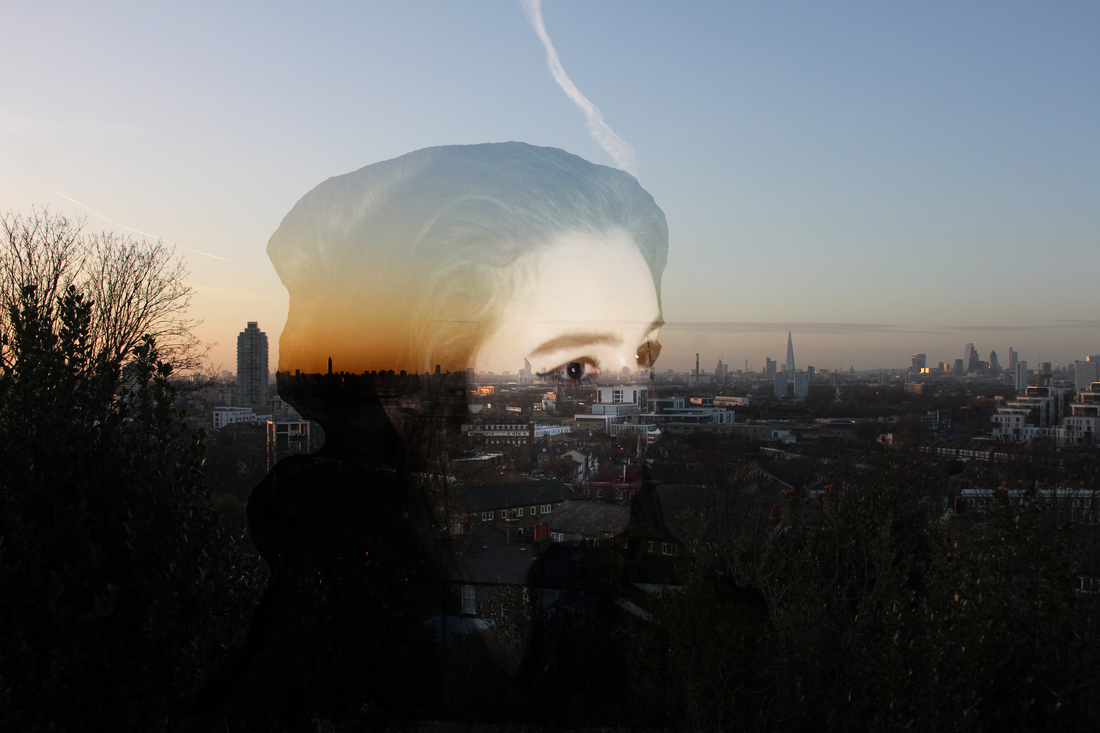
The reason why I like the image above is because of the range of different colours which you can see. I planned to make a final image of a landscape background and a portrait foreground. Therefore I took my background image of a road in Greenwich. After that I then took a close up of my friend behind a plain background which made it easier to edit my image. I then 'Placed' my foreground portrait image into photoshop and used the 'Magic wand tool' to crop round my image. However the 'Magic wand tool' missed out sections of my image so I used the 'Lasso tool' to crop the bits of the background which I missed. I then placed the cropped portrait image onto my background image and tested out a variety of different blending options to see which one looked the best. I then went for the 'colour burn' effect. The reason for this is because the top section of the blending options were a bit to dark and you couldn't really see all of the colours and the second section of the blending options were two light and it didn't look very good. My favourite part of this image is the centre. The reason for this is because it starts of really light and slowly blends in and gets darker. To improve my work I might crop around the background image in shape of the foreground image which I think would look even better. For my next double exposure I make i'm going to use a better background image.
|
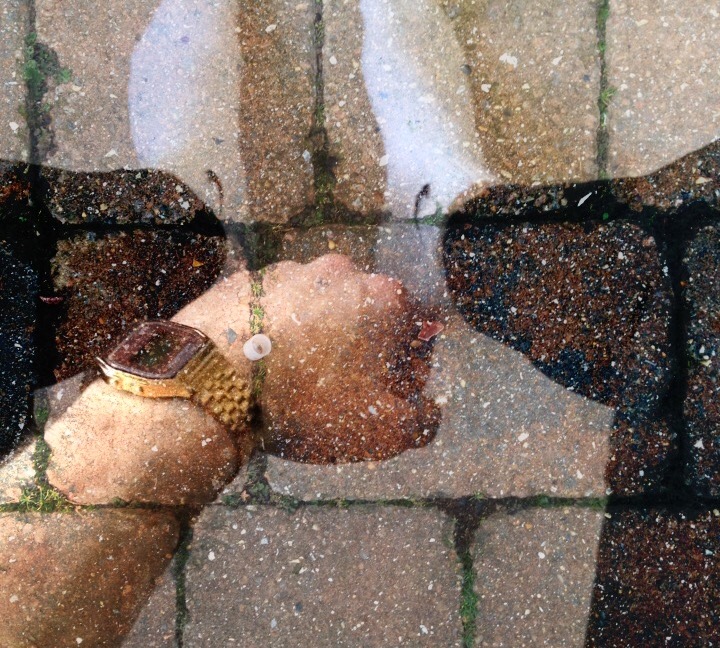
On the left is a image which I created using an app called 'Instablend'. Instablend is a double exposure app which you can download on android and IOS devices for free. I used this app to test out different background with different foreground images and how the look in the same picture. The background image is of the pavement outside my house and the foreground image is a picture of my arm and legs. The reason why I took a picture of the pavement is because its quite plain and there's a lot of texture which is why I thought it would make a good background and is my favourite part of the image. In my opinion I don't really like this image because there is not focus point and you don't really know where to look. If I was to make this image again I would make sure that I use a different effect and add a focal point.
Click here to find out more about Instablend. |

|
I created the image above using an app called 'InstaBlend' on my Iphone.
DescriptionFrom INSTA to INSTANT! Easily combine multiple images to create double exposure style photo art! Now with added free quotes, images and overlays for you to blend like a Pro! Instant Blend - Double Exposure Blender With Arty Instagram Ready Square Frames is the same Instant Blend you know and love and love! - Now with added features! Love being creative? Join over 3 MILLION users who love Instant Blend, THE original double exposure app on store. - Overlap two images quickly and easily! -Choose from various filters and apply to both layers or each layer individually - Blend your own text with our amazing fonts - Apply 2, 3, 4, 5... endless layers - Frame your pic with a huge variety of borders |


Final Edit 1

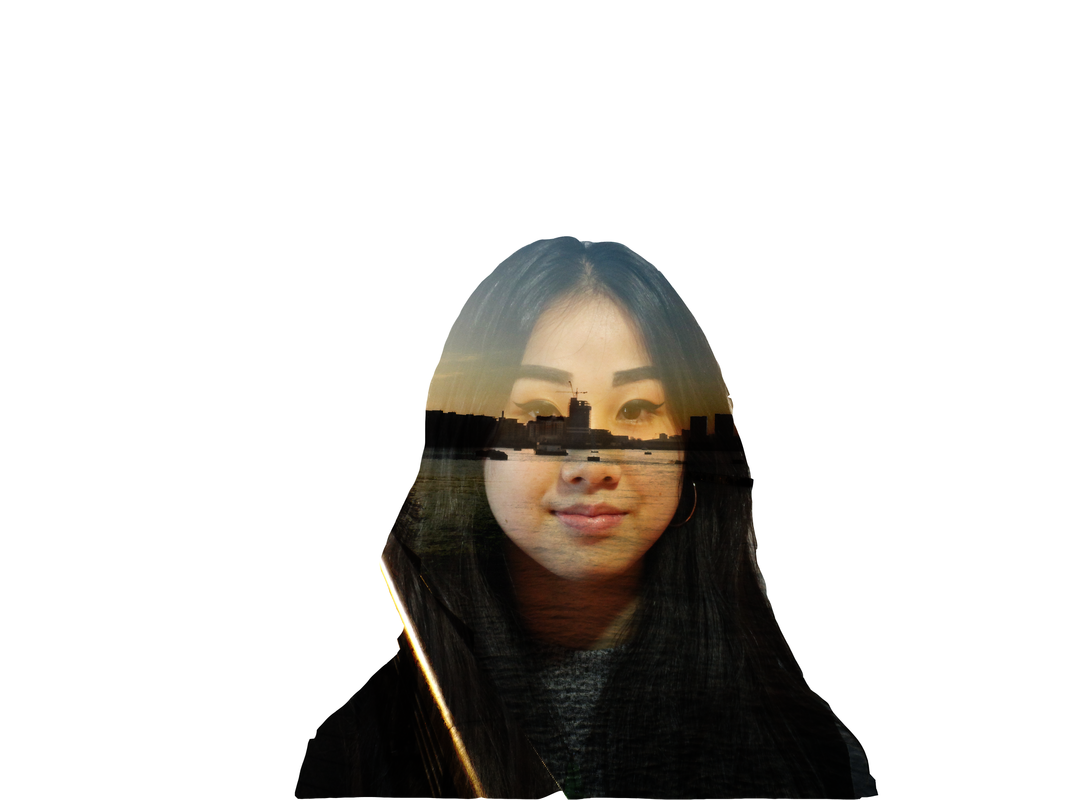
Here is one of my final outcomes of my double exposure edits. One reason why I like this image so much is because of the range of different colours which you can see throughout the image. The first thing I did was to take a background image for my double exposure picture. I did this by going to 'Point hill' and taking a landscape picture. I then took another close up portrait image for my foreground image. Once I got both of the images I then edited them on photoshop. I did this by going to 'file' and 'place' with my foreground image. I then cropped around the image using the 'magic wand tool' and the 'lasso tool'. After that I then 'placed' the foreground image onto my background which I took at Point hill and cropped the background image around the foreground image. I then went through the different blending effects until I found one which caught my eye. I think 'Linear burn' is the one of my favourite effect for this image. The reason for this is because all of the colours turn out really bright but also quite dark which makes the image look unique. However one of the things which I don't like about this picture is its to dark. As you can see, the left hand side of the image is very dark and cuts off half of the background image.
Final Edit 2
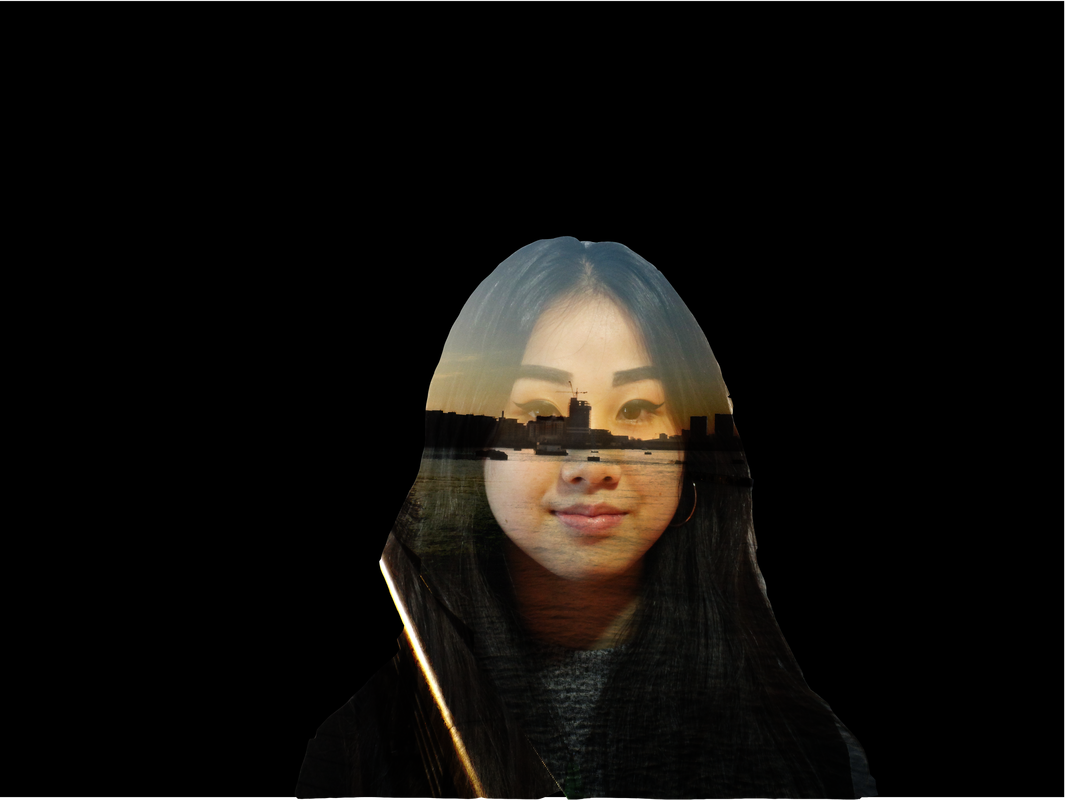
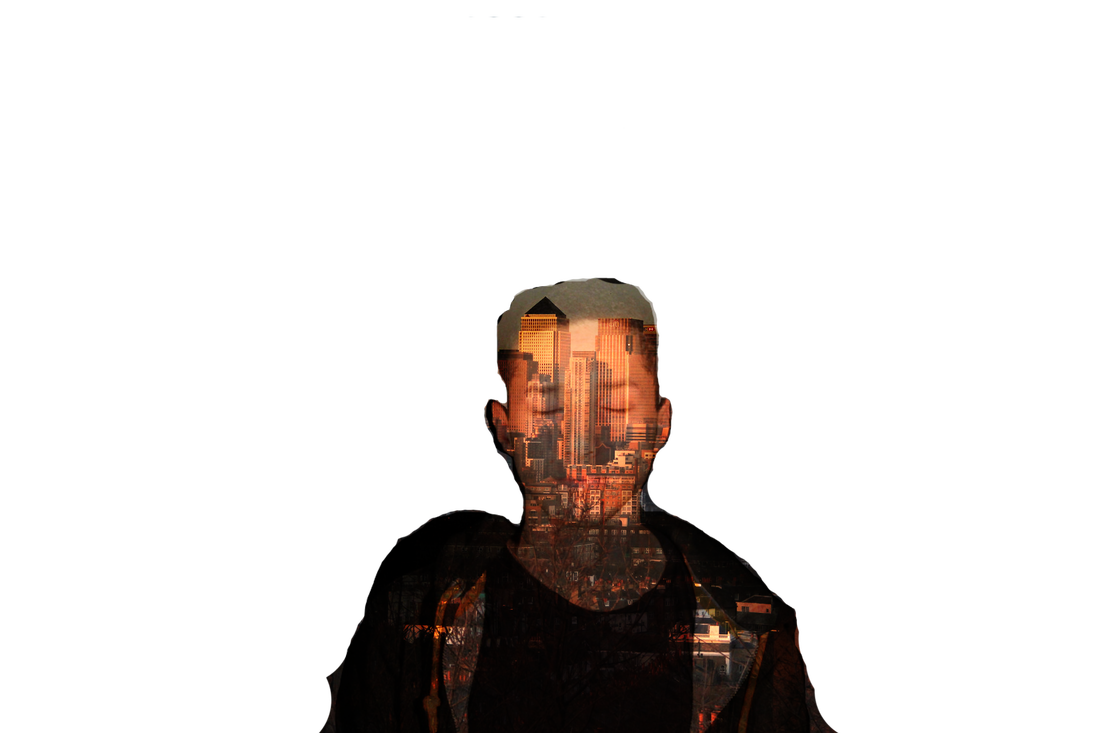
The image above is my second attempt of the same image above. In my opinion I like this image better because the colours aren't as bright and in your face and you can see more of the background image. Another thing I like about this image is the depth. As you can see at the bottom of the image the buildings look really close, however the buildings slowly get further and further away towards the horizon. Another thing which I like about this image is the left side is very dark and the right hand side of the image is quite light that shows contrast in the image. I made this edit by 'file' and 'place' with my foreground image. I then cropped around the image using the 'magic wand tool' and the 'lasso tool'. After that I then 'placed' the foreground image onto my background which I took at Point hill and cropped the background image around the foreground image. I then went through the different blending effects until I found one which caught my eye. As you can see in Final edit 1 is the colours are way to bright and you can't see half of the image so therefore with this image I used an effect called 'Soft light' so you can see more of the image. Another thing which I like about The 'Soft light' effect is it splits the image into fours vertically and horizontally.
I really like this image because
|
|
|

|
Second Final Piece
|

|
|
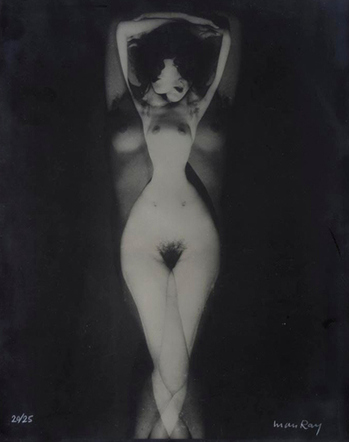
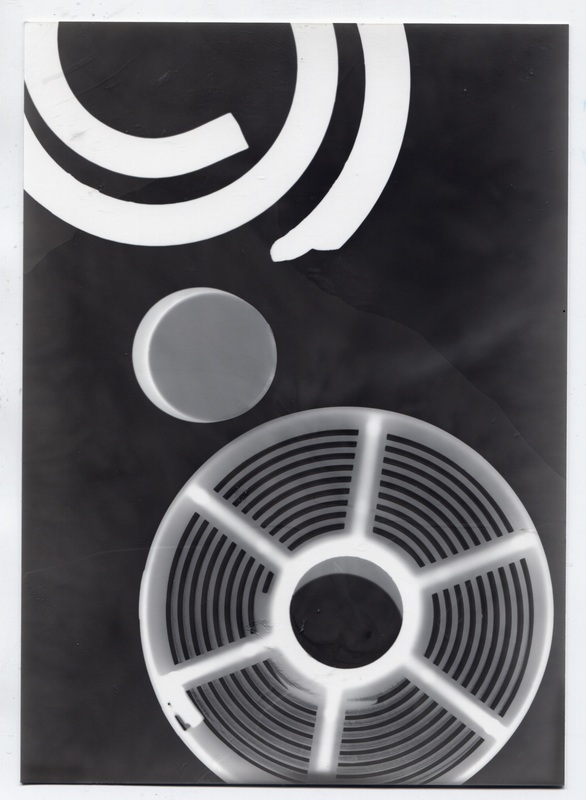
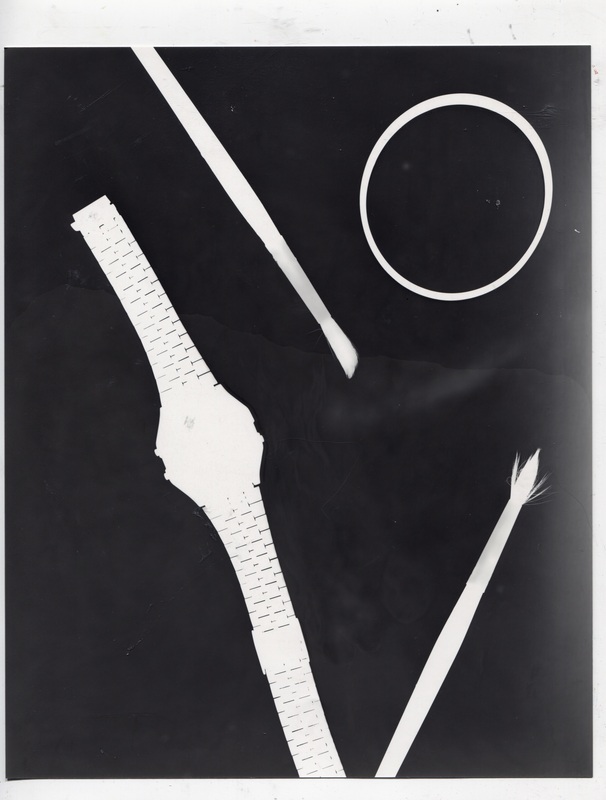
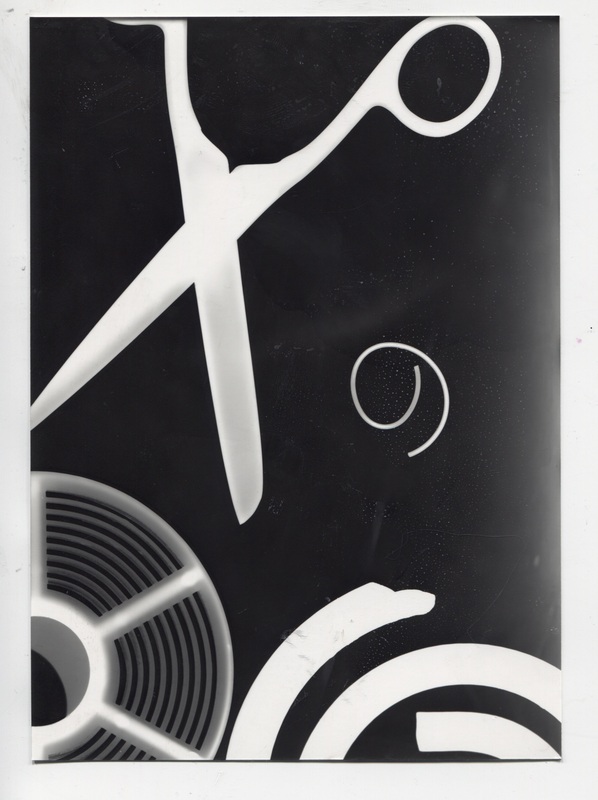
Man Ray (Double Exposure)
|
I really like the picture on the right because it's very creative and unique. This image uses most of the formal elements such as Line, Shape, Texture, Form, which is one of the reasons why I like this Image the most.
|
|
My Images
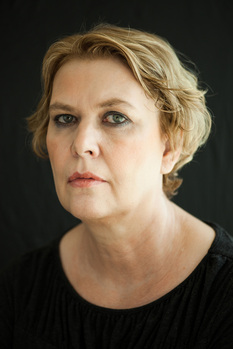
Uta Barth
|
Uta Barth was born in 1958, Berlin, Germany. Uta Barth is a contemporary photographer who lives and works in Los Angeles, California. Barth is a 2012 MacArthur Fellow and a recipient of the John Simon Guggenheim Fellowship in 2004‑05.
Uta Barth's work has been exhibited in
the Tanya Bonakdar Gallery. Barth’s work
has repeatedly refused to address a central subject, presenting us instead with
out-of-focus backgrounds, peripheral views and passing glimpses of scenes seen
only in passing. The content of her work has always been that of vision itself
and her often empty images point us back to our perceptual experience as the primary point of engagement.
|
Unit 2 Evaluation
At the beginning of the course, I decided to look into a large range of artists however there was one modern artist who caught my eye was Uta Barth. The reason for this is because of her series of work called ‘To draw with light’. I discovered Uta Barth by looking at the keyword ‘Light’ on Pinterest. Looking at Uta Barth’s work it inspired me to take pictures in a different way. Uta Barth takes pictures with light reflections and shadows which inspired me to take portrait pictures with reflection and shadows. I also looked at an artist called Andre de Freitas which specialises his work doing double exposures. As a result of this I decided to mix them both and take portrait pictures with backdrops and reflection and landscape pictures and turn them into a double exposure.
As the course went on my ideas slowly started to develop and change. I really enjoyed looking into Uta Barth’s work but I also like landscape photography so therefore I put them both together into a double exposure. I carried out more research on Barth’s work which involved looking at her work in more detail which included annotations and analysing of her photography. As well as this i carried out further research on contemporary artists such as Man Ray who also inspired me to do double exposure work. From research which I carried out on Man Ray’s work my idea’s further developed as his work inspired to do double exposure of people instead of double exposure of objects and light which Uta Barth’s work first influenced me to do. From my new inspiration i decided on combining both Barth’s and Ray’s work together of interpreting double exposure of light and people into one piece of work which is where my final idea began to shape.
In order to create my double exposure images i used photoshop where I began to trial and error. I imported my images into photoshop, I then 'Placed' my foreground portrait image into photoshop and used the 'Magic wand tool' to crop round my image. However the 'Magic wand tool' missed out sections of my image so I used the 'Lasso tool' to crop the bits of the background which I missed. I then placed the cropped portrait image onto my background image and tested out a variety of different blending options to see which one looked the best. I then went for the 'colour burn' effect. The reason for this is because the top section of the blending options were a bit too dark and you couldn't really see all of the colours and the second section of the blending options were two light and it didn't look very good. After that I then did the same steps using different landscapes and portrait images.
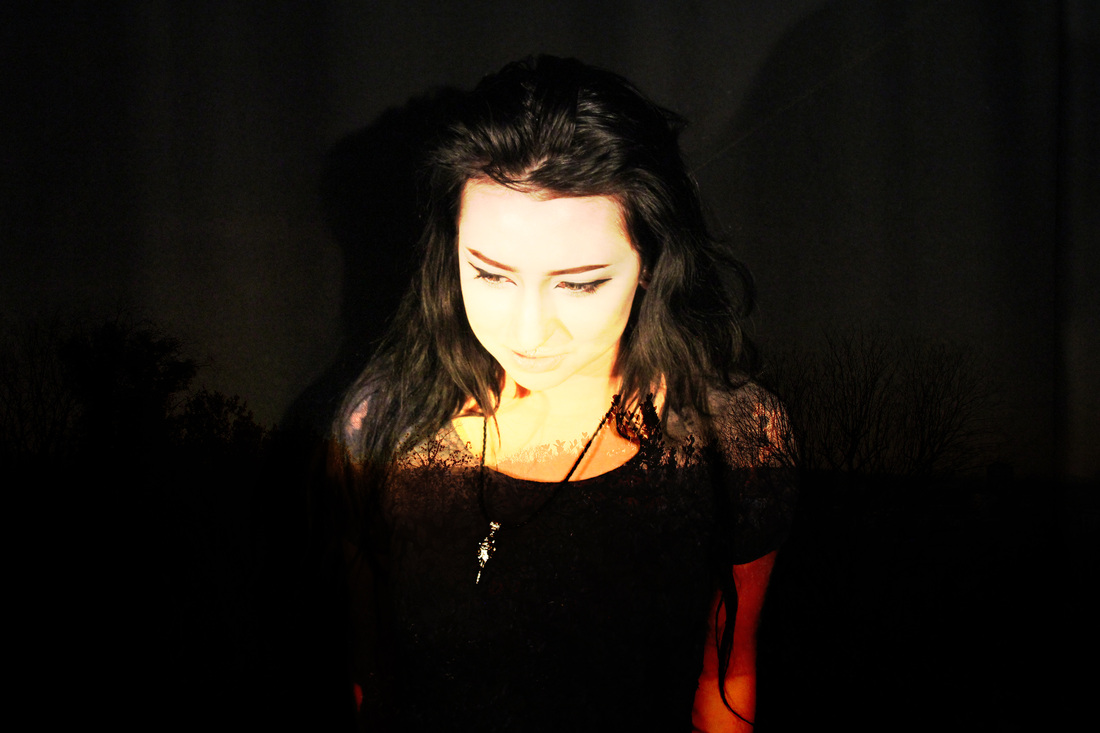
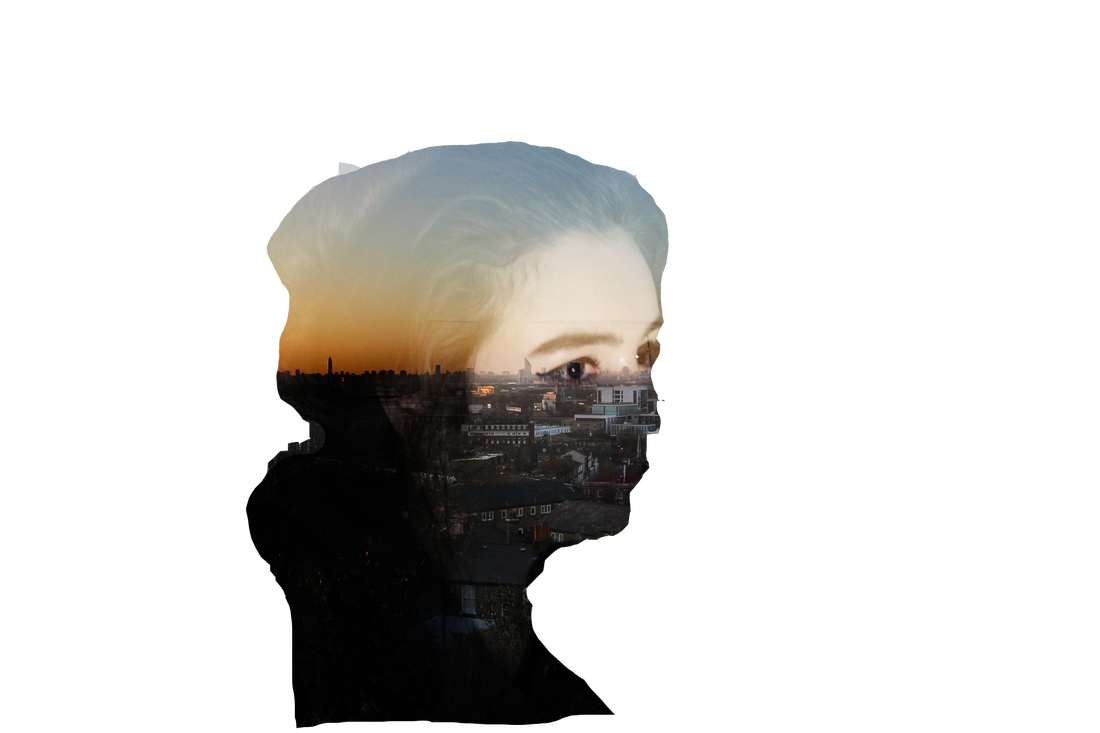
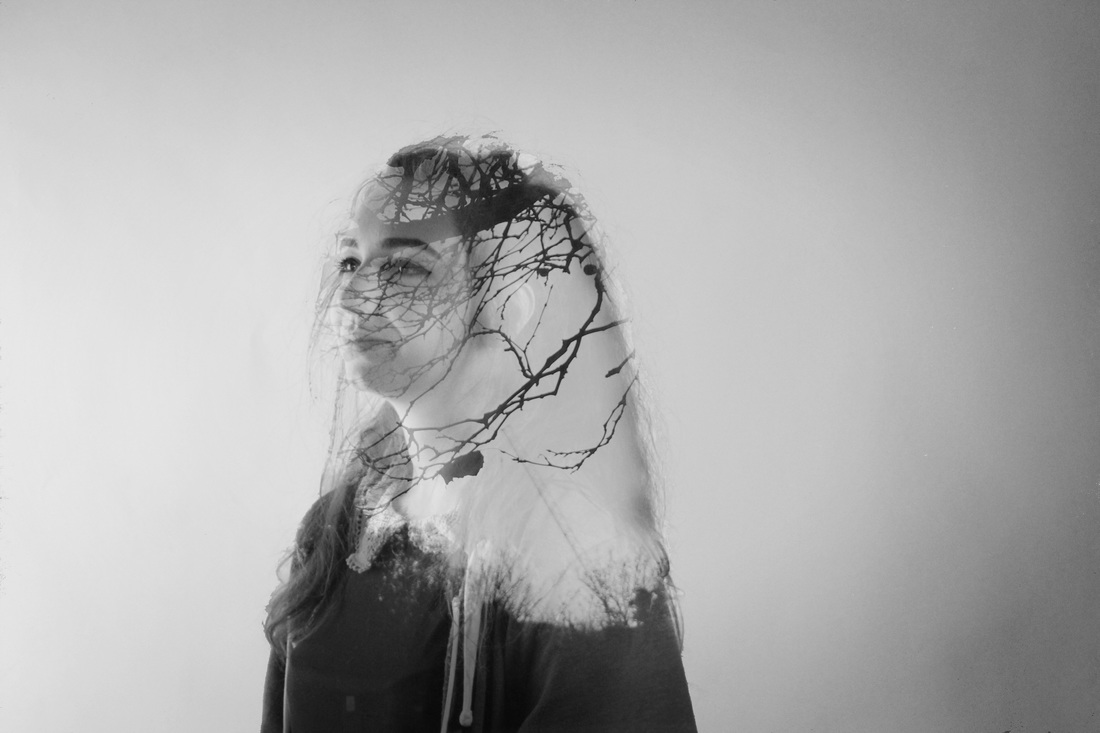
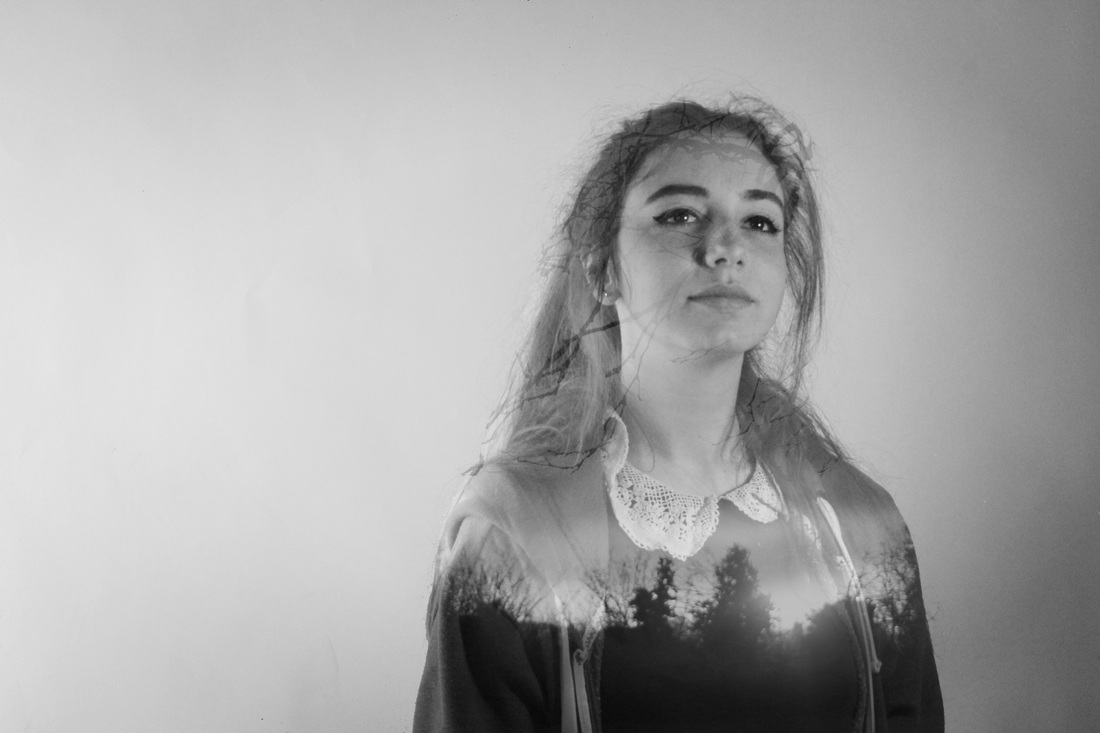
In my opinion I think that my two final pieces were a success overall however some of the image could be improved. I think this because my images came out the way I expected and the way I wanted. My first image is a Black and White landscape double exposure of a girl facing towards the left. The foreground image is a picture of some branches overlapping her face. The left hand side of the image you can hardly see the foreground image however on the right hand side of the image you can hardly see the background and more of the foreground because it slowly blends into each other. In my opinion my second image didn’t come out the way I wanted it to; the reason for this is because of the photoshop editing. In the image you can clearly see the brush strokes from photoshop. I think that my final image come out the best out of the three images. The reason for this is because the image itself is edited in a way which highlights the theme of ‘Creative Use Of Light’ as well as the idea of double exposure. the image is edited to show more of the foreground image towards the bottom the background image. The foreground image fades towards the top of the background image and becomes more subtle. The strengths during this project
Overall I feel happy with the final outcomes of this project. During the project I really enjoyed looking at different artists' work and being inspired by their techniques. I think the biggest influences on my work would be the work of Man Ray and his photos of double exposure. His work helped me in sculpting my ideas and creating my final images. I feel that during this project I have successfully experimented with different ideas and techniques and created some exciting pieces that relate to the themes I have explored.
As the course went on my ideas slowly started to develop and change. I really enjoyed looking into Uta Barth’s work but I also like landscape photography so therefore I put them both together into a double exposure. I carried out more research on Barth’s work which involved looking at her work in more detail which included annotations and analysing of her photography. As well as this i carried out further research on contemporary artists such as Man Ray who also inspired me to do double exposure work. From research which I carried out on Man Ray’s work my idea’s further developed as his work inspired to do double exposure of people instead of double exposure of objects and light which Uta Barth’s work first influenced me to do. From my new inspiration i decided on combining both Barth’s and Ray’s work together of interpreting double exposure of light and people into one piece of work which is where my final idea began to shape.
In order to create my double exposure images i used photoshop where I began to trial and error. I imported my images into photoshop, I then 'Placed' my foreground portrait image into photoshop and used the 'Magic wand tool' to crop round my image. However the 'Magic wand tool' missed out sections of my image so I used the 'Lasso tool' to crop the bits of the background which I missed. I then placed the cropped portrait image onto my background image and tested out a variety of different blending options to see which one looked the best. I then went for the 'colour burn' effect. The reason for this is because the top section of the blending options were a bit too dark and you couldn't really see all of the colours and the second section of the blending options were two light and it didn't look very good. After that I then did the same steps using different landscapes and portrait images.
In my opinion I think that my two final pieces were a success overall however some of the image could be improved. I think this because my images came out the way I expected and the way I wanted. My first image is a Black and White landscape double exposure of a girl facing towards the left. The foreground image is a picture of some branches overlapping her face. The left hand side of the image you can hardly see the foreground image however on the right hand side of the image you can hardly see the background and more of the foreground because it slowly blends into each other. In my opinion my second image didn’t come out the way I wanted it to; the reason for this is because of the photoshop editing. In the image you can clearly see the brush strokes from photoshop. I think that my final image come out the best out of the three images. The reason for this is because the image itself is edited in a way which highlights the theme of ‘Creative Use Of Light’ as well as the idea of double exposure. the image is edited to show more of the foreground image towards the bottom the background image. The foreground image fades towards the top of the background image and becomes more subtle. The strengths during this project
Overall I feel happy with the final outcomes of this project. During the project I really enjoyed looking at different artists' work and being inspired by their techniques. I think the biggest influences on my work would be the work of Man Ray and his photos of double exposure. His work helped me in sculpting my ideas and creating my final images. I feel that during this project I have successfully experimented with different ideas and techniques and created some exciting pieces that relate to the themes I have explored.
